DIY Thin Brick - How to Give any Space An Instant Upgrade
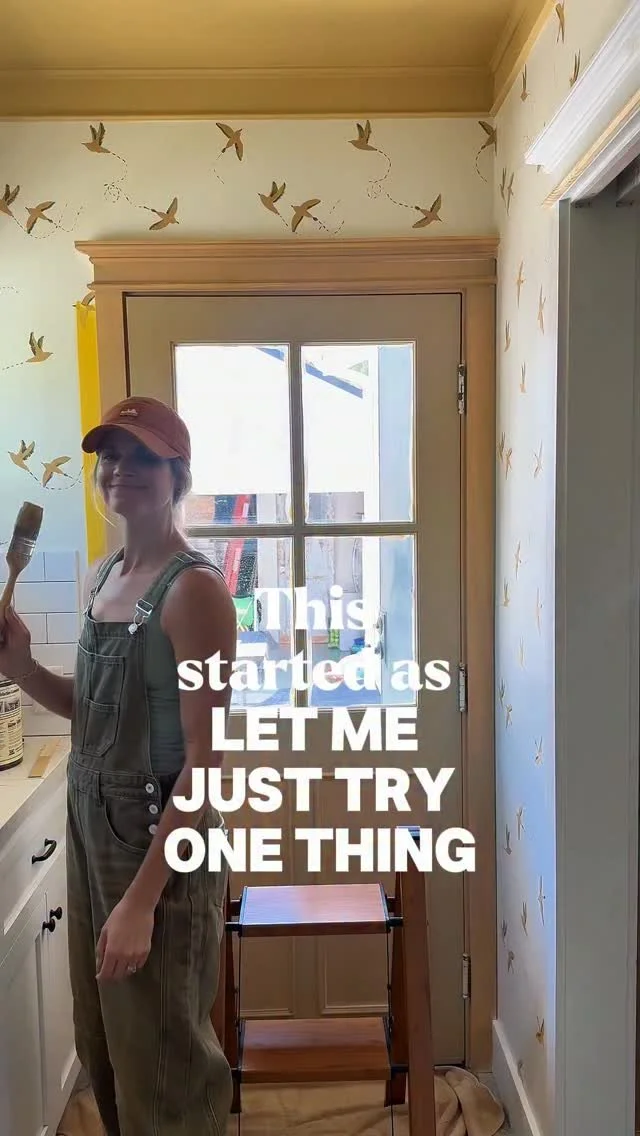
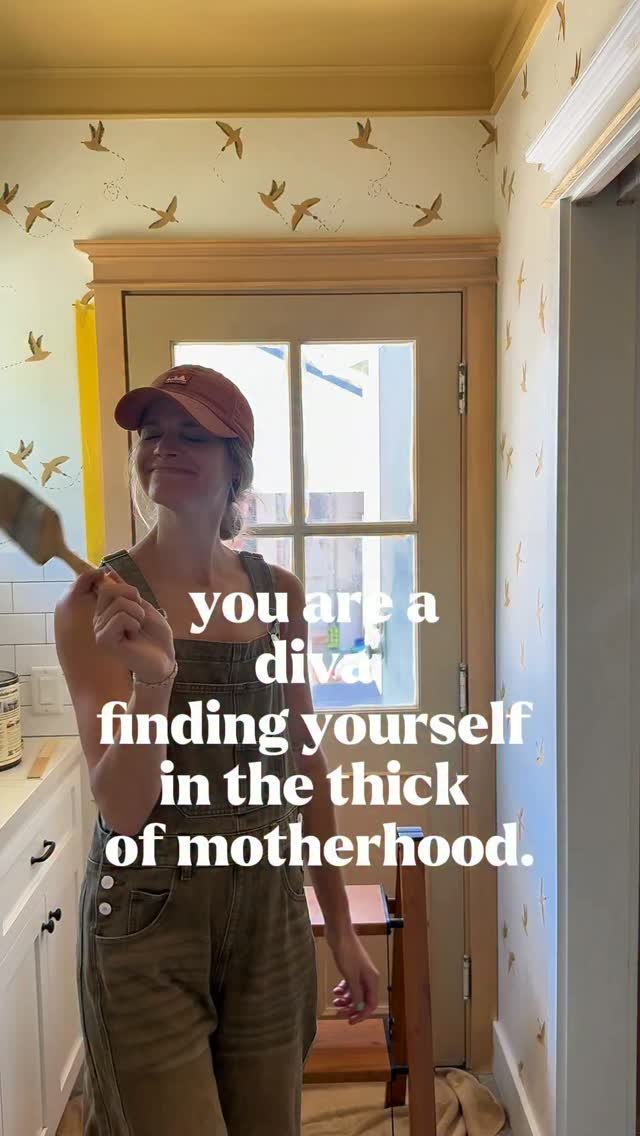
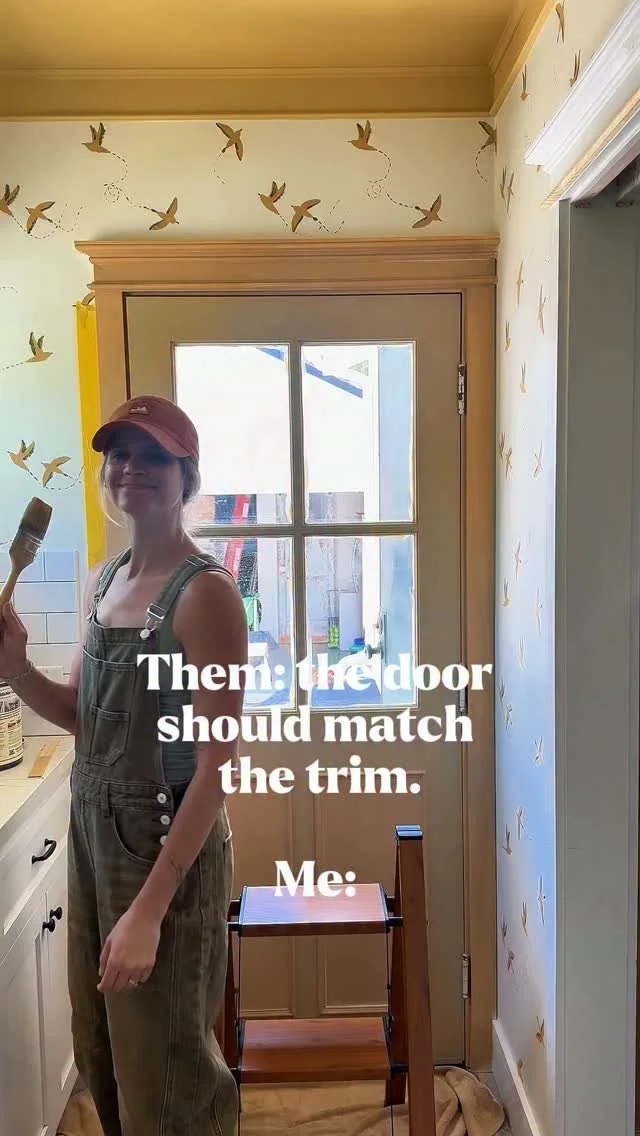
/Brick! Brick! And more Brick! I am at it again with DIY’ing thin brick, this time to our backyard steps.

Last year, I installed thin brick on our front porch and fell in absolute love. Ever since then, I knew exactly where I would put brick pavers next.

*Any links that are provided contain affiliate links. Meaning if you purchase through my link, while it’s the same cost to you, I get a small commission – see my full disclosure here*

I always knew that brick was meant for our home. Our hundred year old Cottage Tudor screams brick, and not necessarily on the walls. I would love to one day do something about the stucco that they added at some point, but for now, I am making small changes that make a big impact. The back of our house is lined with stairs leading to our backyard and it has always felt very blah and bland. I hated it. Until now!

As much as it feels like a daunting project to DIY, and it is quite labor intensive {I counteract this by going slow and making it therapeutic}, the process itself is pretty simple. Let me show you how! Here is how I DIY’ed our backyard steps with thin brick.
Materials & Tools:
Brick - I got mine from a local brick yard in the color Verona.
Safety Glasses and Gloves
Tile Saw (or Angle Grinder)
The wonderful thing about thin brick is that it can be laid over concrete, which means you don’t need to bother with the whole brick. I was able to install the brick directly on top of our current concrete steps.
Prep
Before anything, I gave the area a good pressure wash. {**I painted these steps a couple of years ago and the paint was securely attached. If there was any flaking/chipping when I pressure washed, I would have removed it all.}
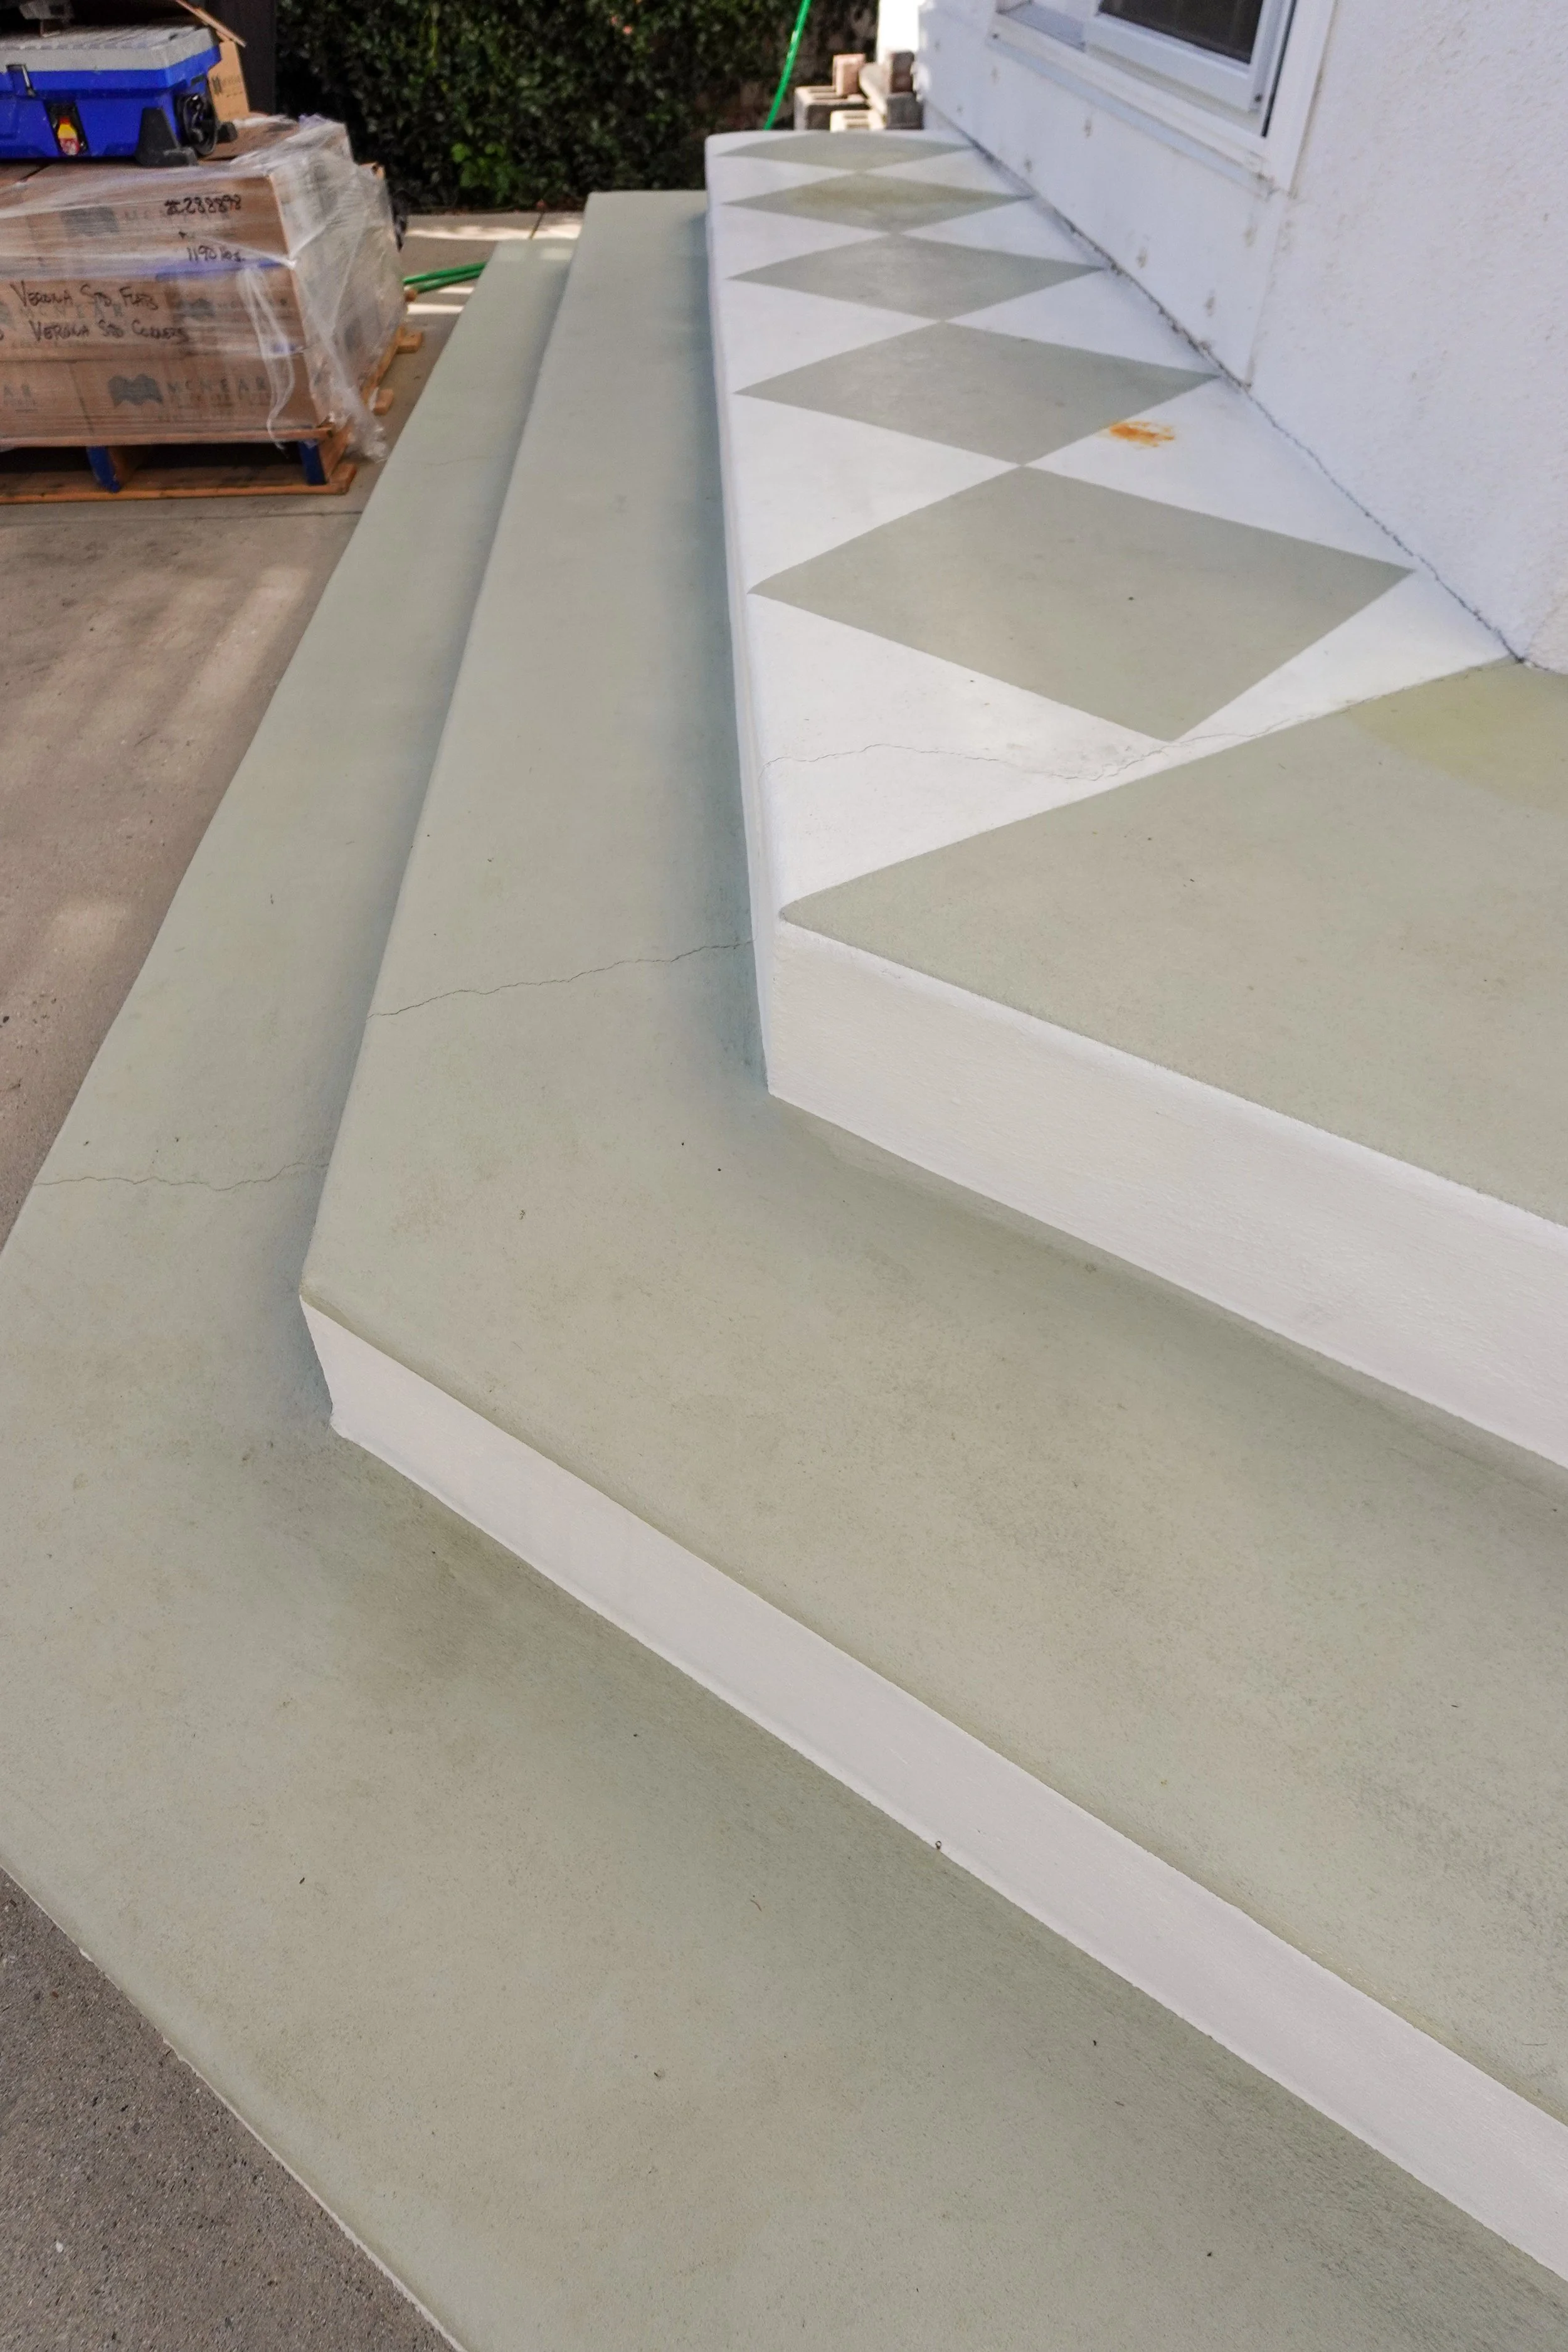
Because these steps had cracks running down, I decided to add a crack-isolation membrane to help prevent any cracks through the bricks. Then to the fun part!
Step 1: Steps
First up was using the corner pieces for the steps. Either way I placed the corner brick, I knew I would have to make a cut, so I decided to have the lip hang over the edge and then cut a small piece for below.


I used the same adhesive I used on the front porch which is meant for brick. Following the directions, I used a bucket, drill and mixing paddle to get the perfect creamy frosting feel. After the adhesive was ready, I used a notched trowel to scoop out and smear on the concrete, making sure the whole area was covered, working in 6-8 bricks at a time and using a 3/8” stick to help with spacing. I would back butter each brick, making sure the inside corner had a little more adhesive.
Step 2: Everything Else
All the cuts were pretty straight forward. There were A LOT of cuts to make {is a million exaggerating?}, but using a tile saw made the process a lot easier.

Once the cuts were done, I did the same process as with the steps, using the stick for spacing and stepping back to make sure the lines were straight.


Step 3: Grout
Where it all comes together!
For many reasons, I went with an exterior grade sanded grout. The process of grouting that I did is a little unconventional for what you “should” do, but I like the flat look of the grout better and I didn’t want to use a grout float. Following the grout directions, once I got that creamy frosting feeling, I scooped it into my piping bag. Working in sections, I would fill the gaps so that it went a little above the brick. While it was still wet, I would use my fingers to push it down in the cracks. After it was dry to touch and not sticky {about 15 minutes}, I took the brick jointer to push down and use my hands to smooth the grout. If there were any areas that needed more grout, I would use any of the excess grout to apply {you want to keep the same wetness within the grout}. Once it was fully dry, I went through with a bristle brush and wiped away any of the excess.

Step 4: Seal
The final step was to seal! I first went through with a wet sponge + dish soap to clean any excess grout that got on the bricks. I didn’t do too much on this part because I liked the old look the excess grout spatters gave. Sealing was easy and quick. Simply brush on the sealer with a brush, let it sit for 5 minutes and then wipe it off with a towel. All finished!!!!

Some FAQ’s
How does brick feel to walk on?
This question came up a lot when I was in the middle of this DIY. It feels like any other hard surface {tile, concrete, etc.} to walk on. If you are comparing it to carpet, then of course there is a difference. But I walk out here barefoot all the time with no issue.


Is cleaning brick a nightmare?
Absolutely not! I clean it the same way I did with the concrete by rinsing it down with the hose and using a blower to dry.
Why use thin brick?
In case you didn’t know, thin brick is in fact real brick that has been cut down to thin pieces. Which means that it has all the same texture that brick has, it is just thinner and lighter. This makes it an excellent option for many DIY projects and can be used in a variety of spaces.
So now to the actual question, why thin brick? The simple answer, because of how our steps are. A full size brick would have made our steps too tall. These thin bricks provided us with everything we wanted without making making it look out of place.

If you have any other questions, let me know below!
Thank you for coming along this brick journey with me; it has been a fun journey. What do you think of brick? Would you add it into your home?
with love, andi
Want to save this for later? Save to your favorite Pinterest board!