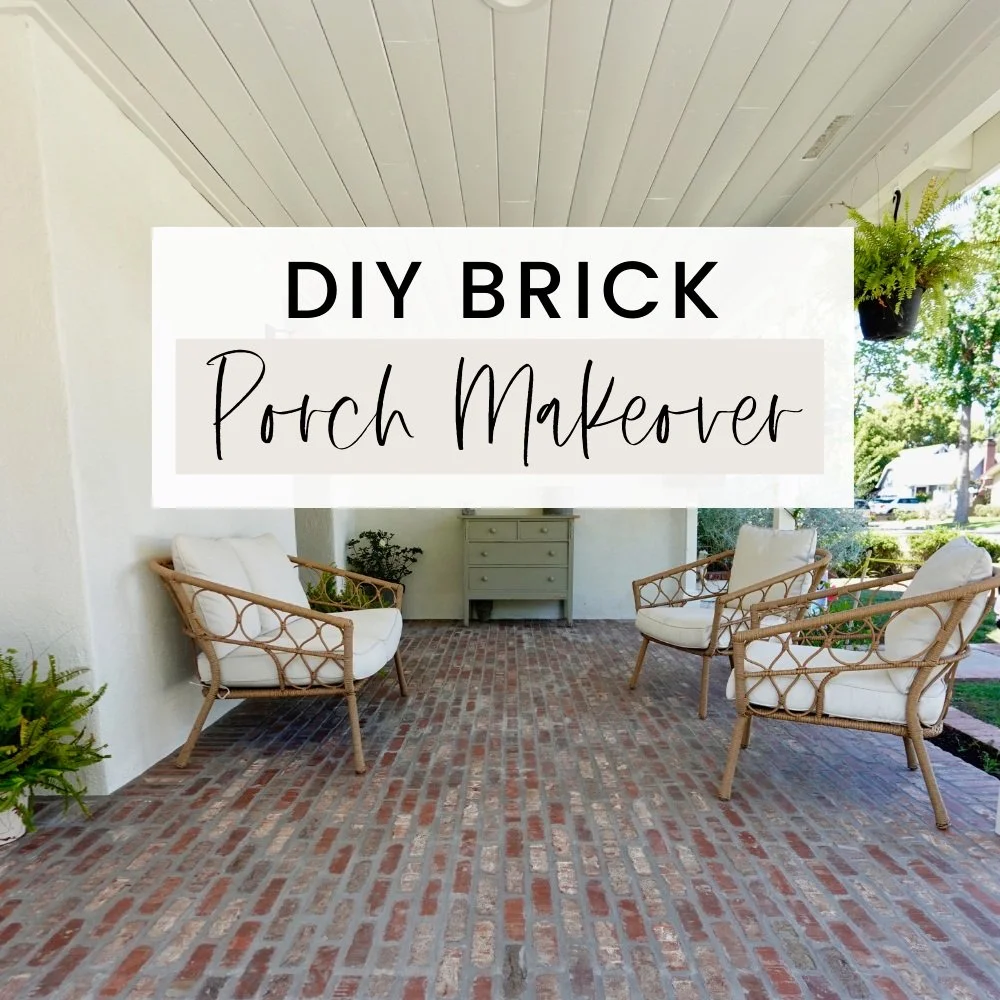
How To DIY Your Front Porch - Awesome Brick Makeover
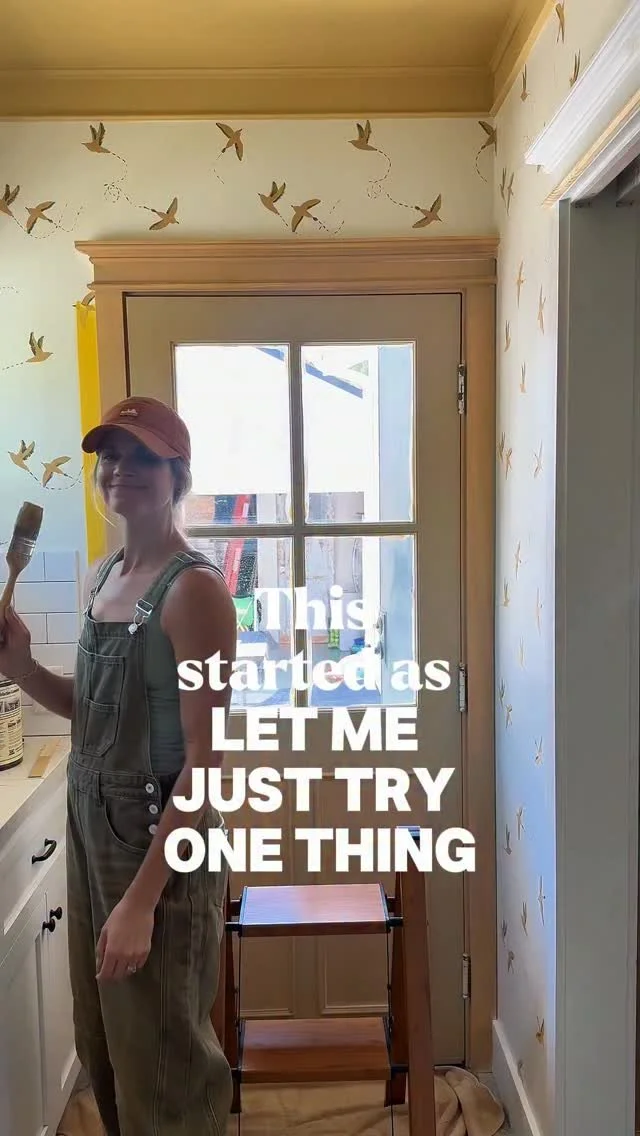
/I knew the day we moved in that brick was meant for our front porch. I dreamed of it for over 5 years. But there was no way that hiring out was going to be in our budget with all the other projects we wanted to accomplish. And it always seemed like such a daunting project to DIY. And even DIY’ing it doesn’t necessarily make it budget friendly.
The time finally came where it was within our budget to get the materials; and it happened to be at the same time I got the courage to DIY it.


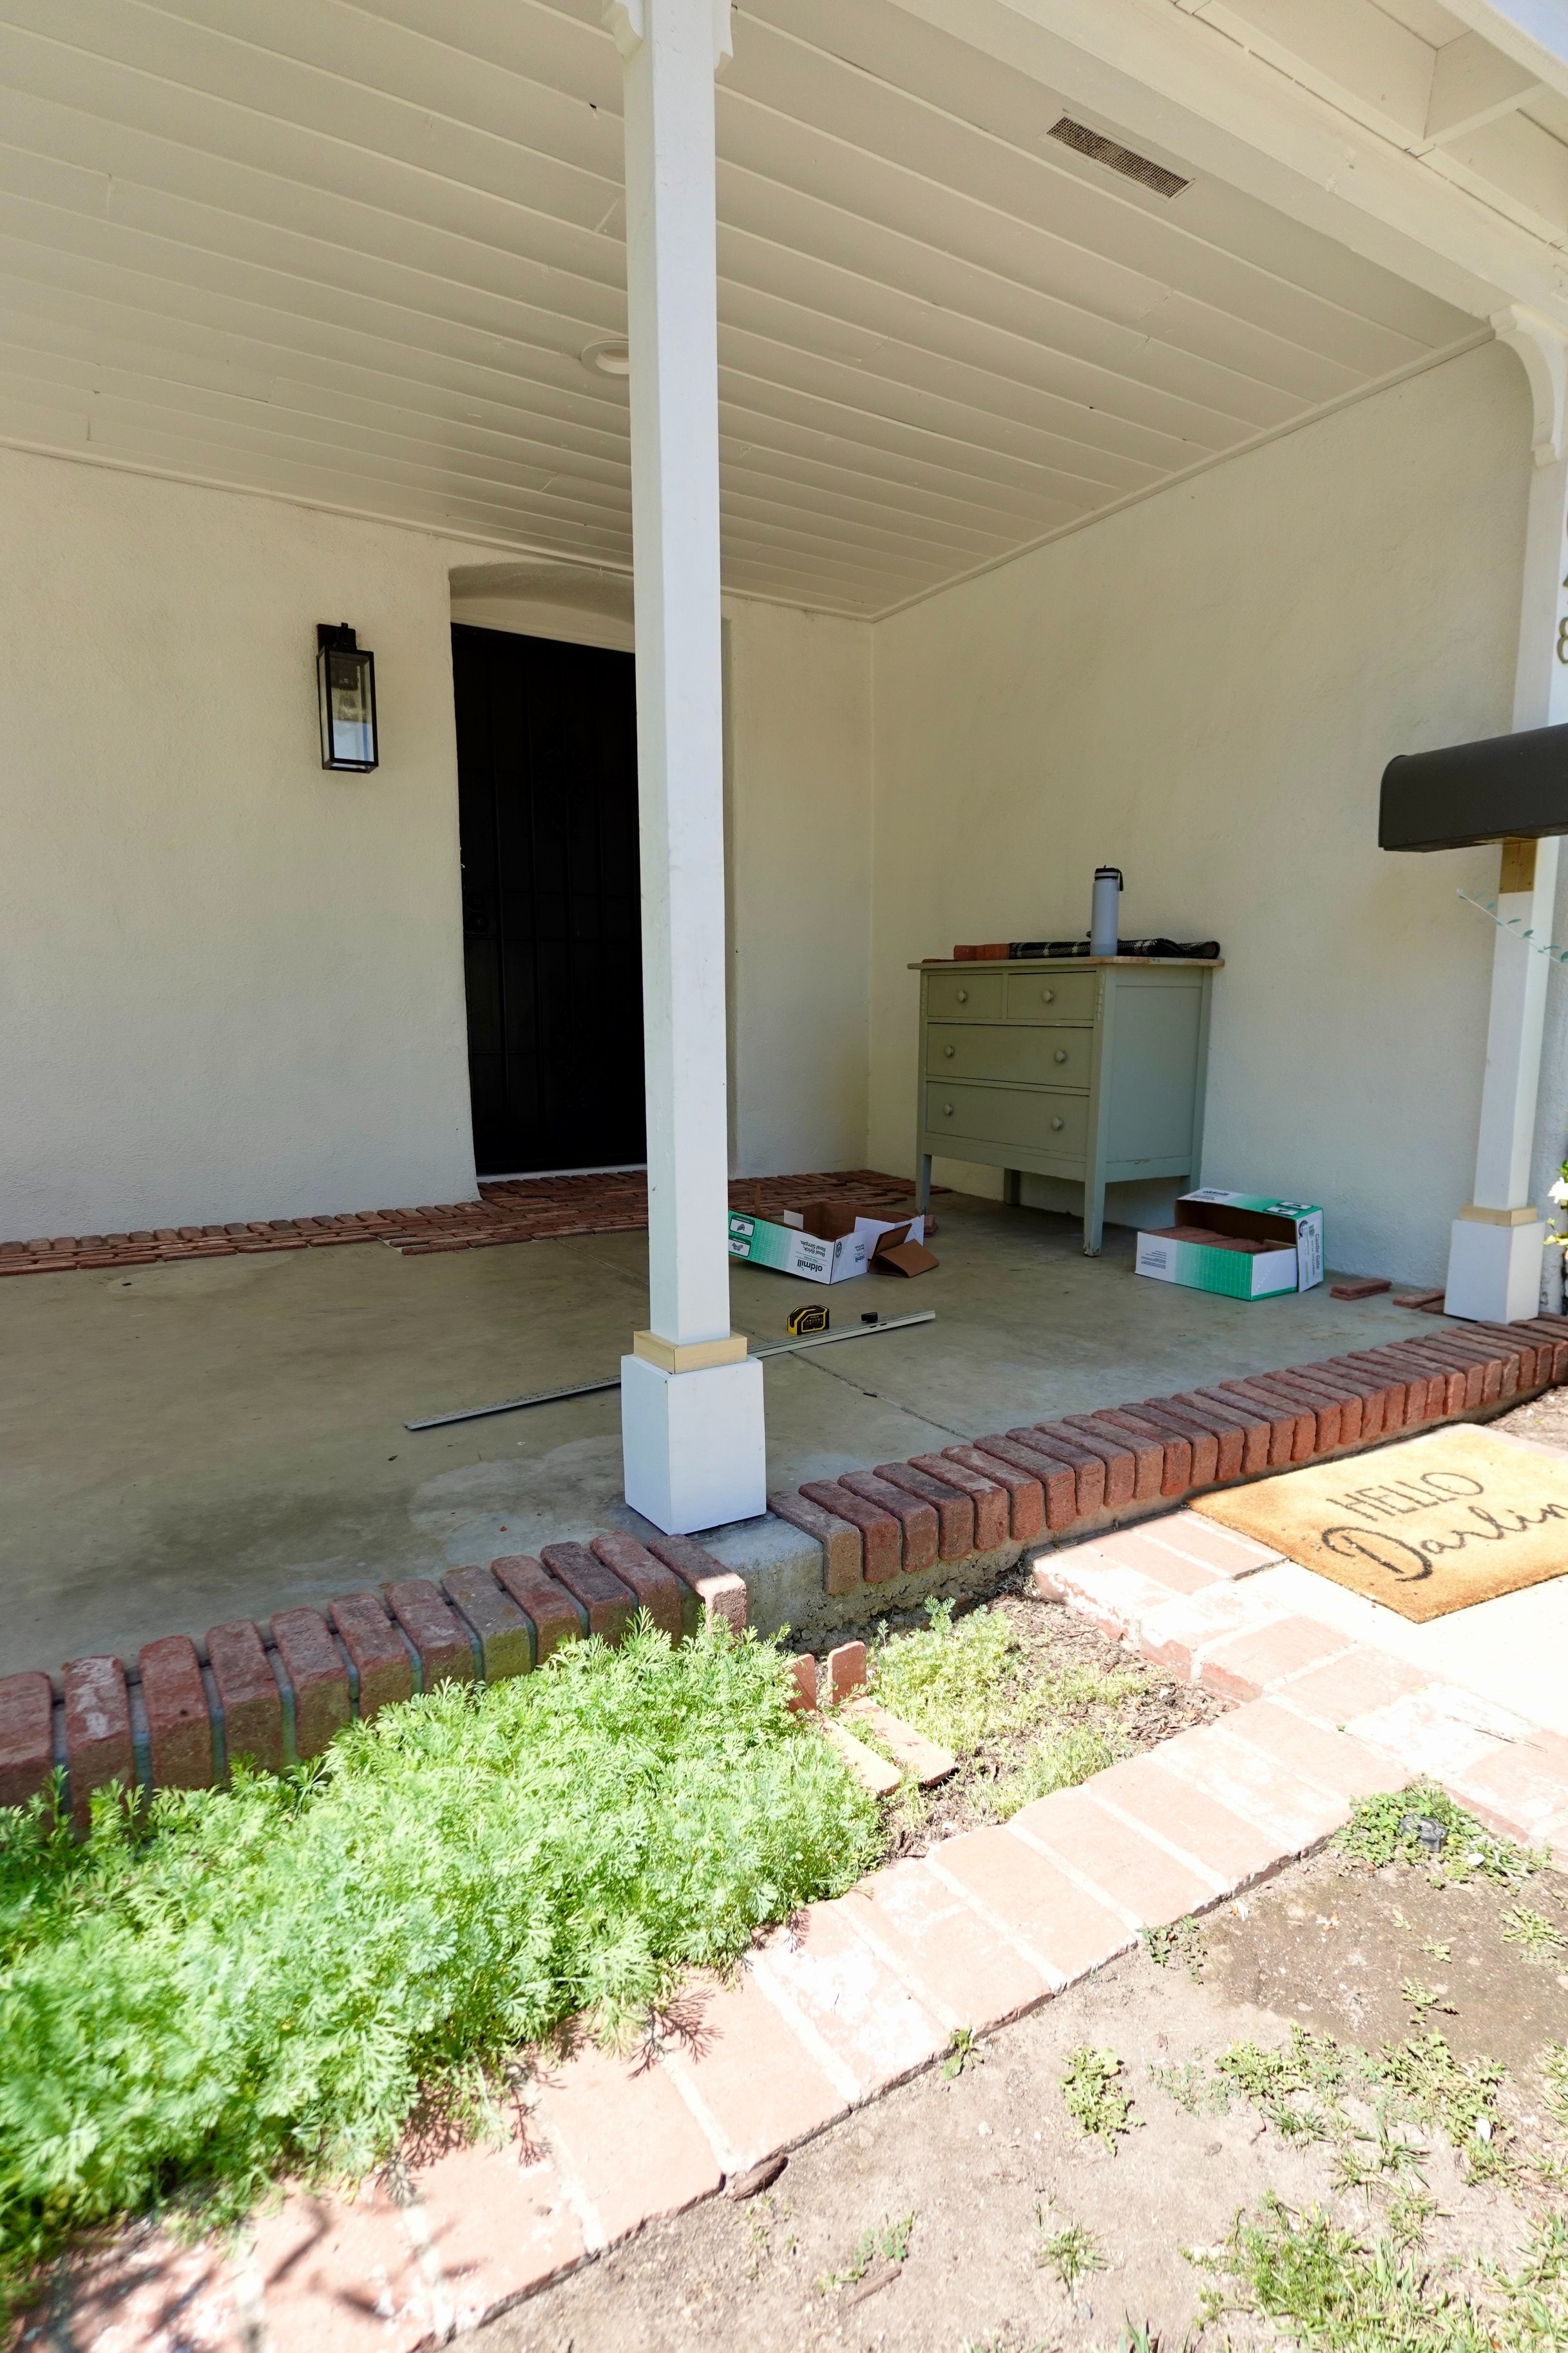
Thin brick can be laid over concrete or other surfaces which means you don’t need to bother with the whole brick. I was able to install the brick directly on top of our current concrete porch. The process was pretty simple, but it was an extremely tedious and labor intensive process, especially on our 225 sq ft porch. Let’s get to it! Here is how I DIY’ed our brick porch.
Materials & Tools:
Brick Pavers in Castle Gate (Classic Layout Sheets, Single Pavers, Corner Pavers) - a 10% discount should automatically apply at checkout, but just in case, use the code SIMPLYDISTRESSED10 for 10% off.
If Castle Gate is sold out, Citadel is almost identical - a 10% discount should automatically apply at checkout, but just in case, use the code SIMPLYDISTRESSED10 for 10% off.
Safety Glasses/Gloves
**See full price breakdown at the end 😊
*This post is not a sponsored by Old Mill Brick and all opinions are solely my own. However, this post does contain affiliate links. Meaning if you purchase through my link, while it’s the same cost to you, I get a small commission {forever grateful for those who purchase through my links 😊} – see my full disclosure here*


Step 1: Border
This was an added step, taking more time, but so worth it! Any older place that I’ve seen with a brick flooring has always had a border. Since our house is 100 years old, it only seemed fitting that I add a border as well. And I am so glad I did. I began by arranging the border using the single brick pavers against the wall until they looked just right. For any part that had a step, I used a corner brick. Either way I placed the corner brick, I knew I would have to make a cut. I decided to keep the same look as the rest of the border, so I decided to have the lip hang over the edge and will cut a small piece for below later.

I decided to attach the border before moving to the area. I used the adhesive recommended by Old Mill Brick. Following the directions, I used a bucket, drill and mixing paddle to get the perfect creamy frosting feel.


After the adhesive was ready, I used the notched trowel to scoop out and smear on the concrete, making sure the whole area was covered. I worked in 6-8 bricks at a time. It took some getting used to, but I found the tilting the trowel about a 45 degree angle got just the right ridges. I used a stick to help with spacing.


Step 2: Area & Cuts
The first thing I did was a dry layout. This step isn’t required, but it really helps with visualizing what it’s going to look like and if any adjustments are needed. It is twice the work, but trust me, so worth it. I had it in my head that I had to begin in a certain spot by the door.


If I didn’t do the dry layout to visualize, I would have ended up having to do double the amount of cuts and we would have had a tiny sliver of brick as you are stepping onto the porch. After rearranging, it looked so much better!


After the area was all filled with the dry layout, it was time to attach with the adhesive. This part took some getting used to with trying to figure out the perfect amount. You want to make sure the adhesive squeezes through the webbing when you gently press down on each brick on the brickwebb. As I went on, I would find some bricks were loose {i.e. I didn’t put enough adhesive} so I would simply detach it from the webbing and add more adhesive to the brick.


Once it was all finished, it was time for the cuts! The company recommends using a tile saw or angle grinder for the cuts. We already had a brushless cordless circular saw with a blade for brick and that is what I used to make all the cuts. From my research, a tile saw is the quickest, but this worked out fine for me.

All the cuts were pretty straight forward, but I did have some issues with cuts around the posts. My mind began to think of it as a puzzle, trying to fit in the pieces in any way possible. As you can imagine, that didn’t look very cohesive. Even though this was faster, I knew I would regret it. So after a break, I came back and rethought the cutting. Once I had all my cuts done, I followed the same process and attached them with the adhesive. **You could totally do the cuts before attaching the bricks. With the size of our porch and to keep my sanity, I broke it up a lot {i.e. attach all the area pieces, cut my extra pieces needed, attach those cut pieces}

Step 3: Grout
This is where it starts to really take shape! The company recommends using sanded grout vs. mortar for the floor and that is what I did, going with this grout. You can either use a grout float or a piping bag and brick jointer; I decided to go the piping bag grout. It does give it more of a rough, distressed look. If I was putting the brick indoors, I think I would use the grout float instead {but then you would have to seal before and after grout and it can be a little more messy}. Following the grout directions, once I got that creamy frosting feeling, I scooped it into my piping bag. Working in sections, I would fill the gaps so that it went a little above the brick. While it was still wet, I would use my fingers to push it down in the cracks. After it was dry to touch and not sticky {about 15 minutes}, I would take the brick jointer to push down and smooth the grout. If there were any areas that needed more grout, I would use any of the excess grout to apply {you want to keep the same wetness within the grout}. Once it was fully dry, I went through with a bristle brush and wiped away any excess.


This step took time, lots of time. I was warned that this was the worst step. I think knowing that going in changed how I thought. I knew it was going to take time, so I allowed myself that. And in the process, I found it to be very soothing. It was a time for me to be with myself, listen to the music I wanted to listen to, and just enjoy the process.


I think I used way more grout than needed {I would always have a lot of excess}; but I had the mindset of rather having too much then not apply enough and having to start over.
Step 4: Seal
Before the finishing touch, I went through with a wet sponge + dish soap to clean any excess grout that got on the bricks.

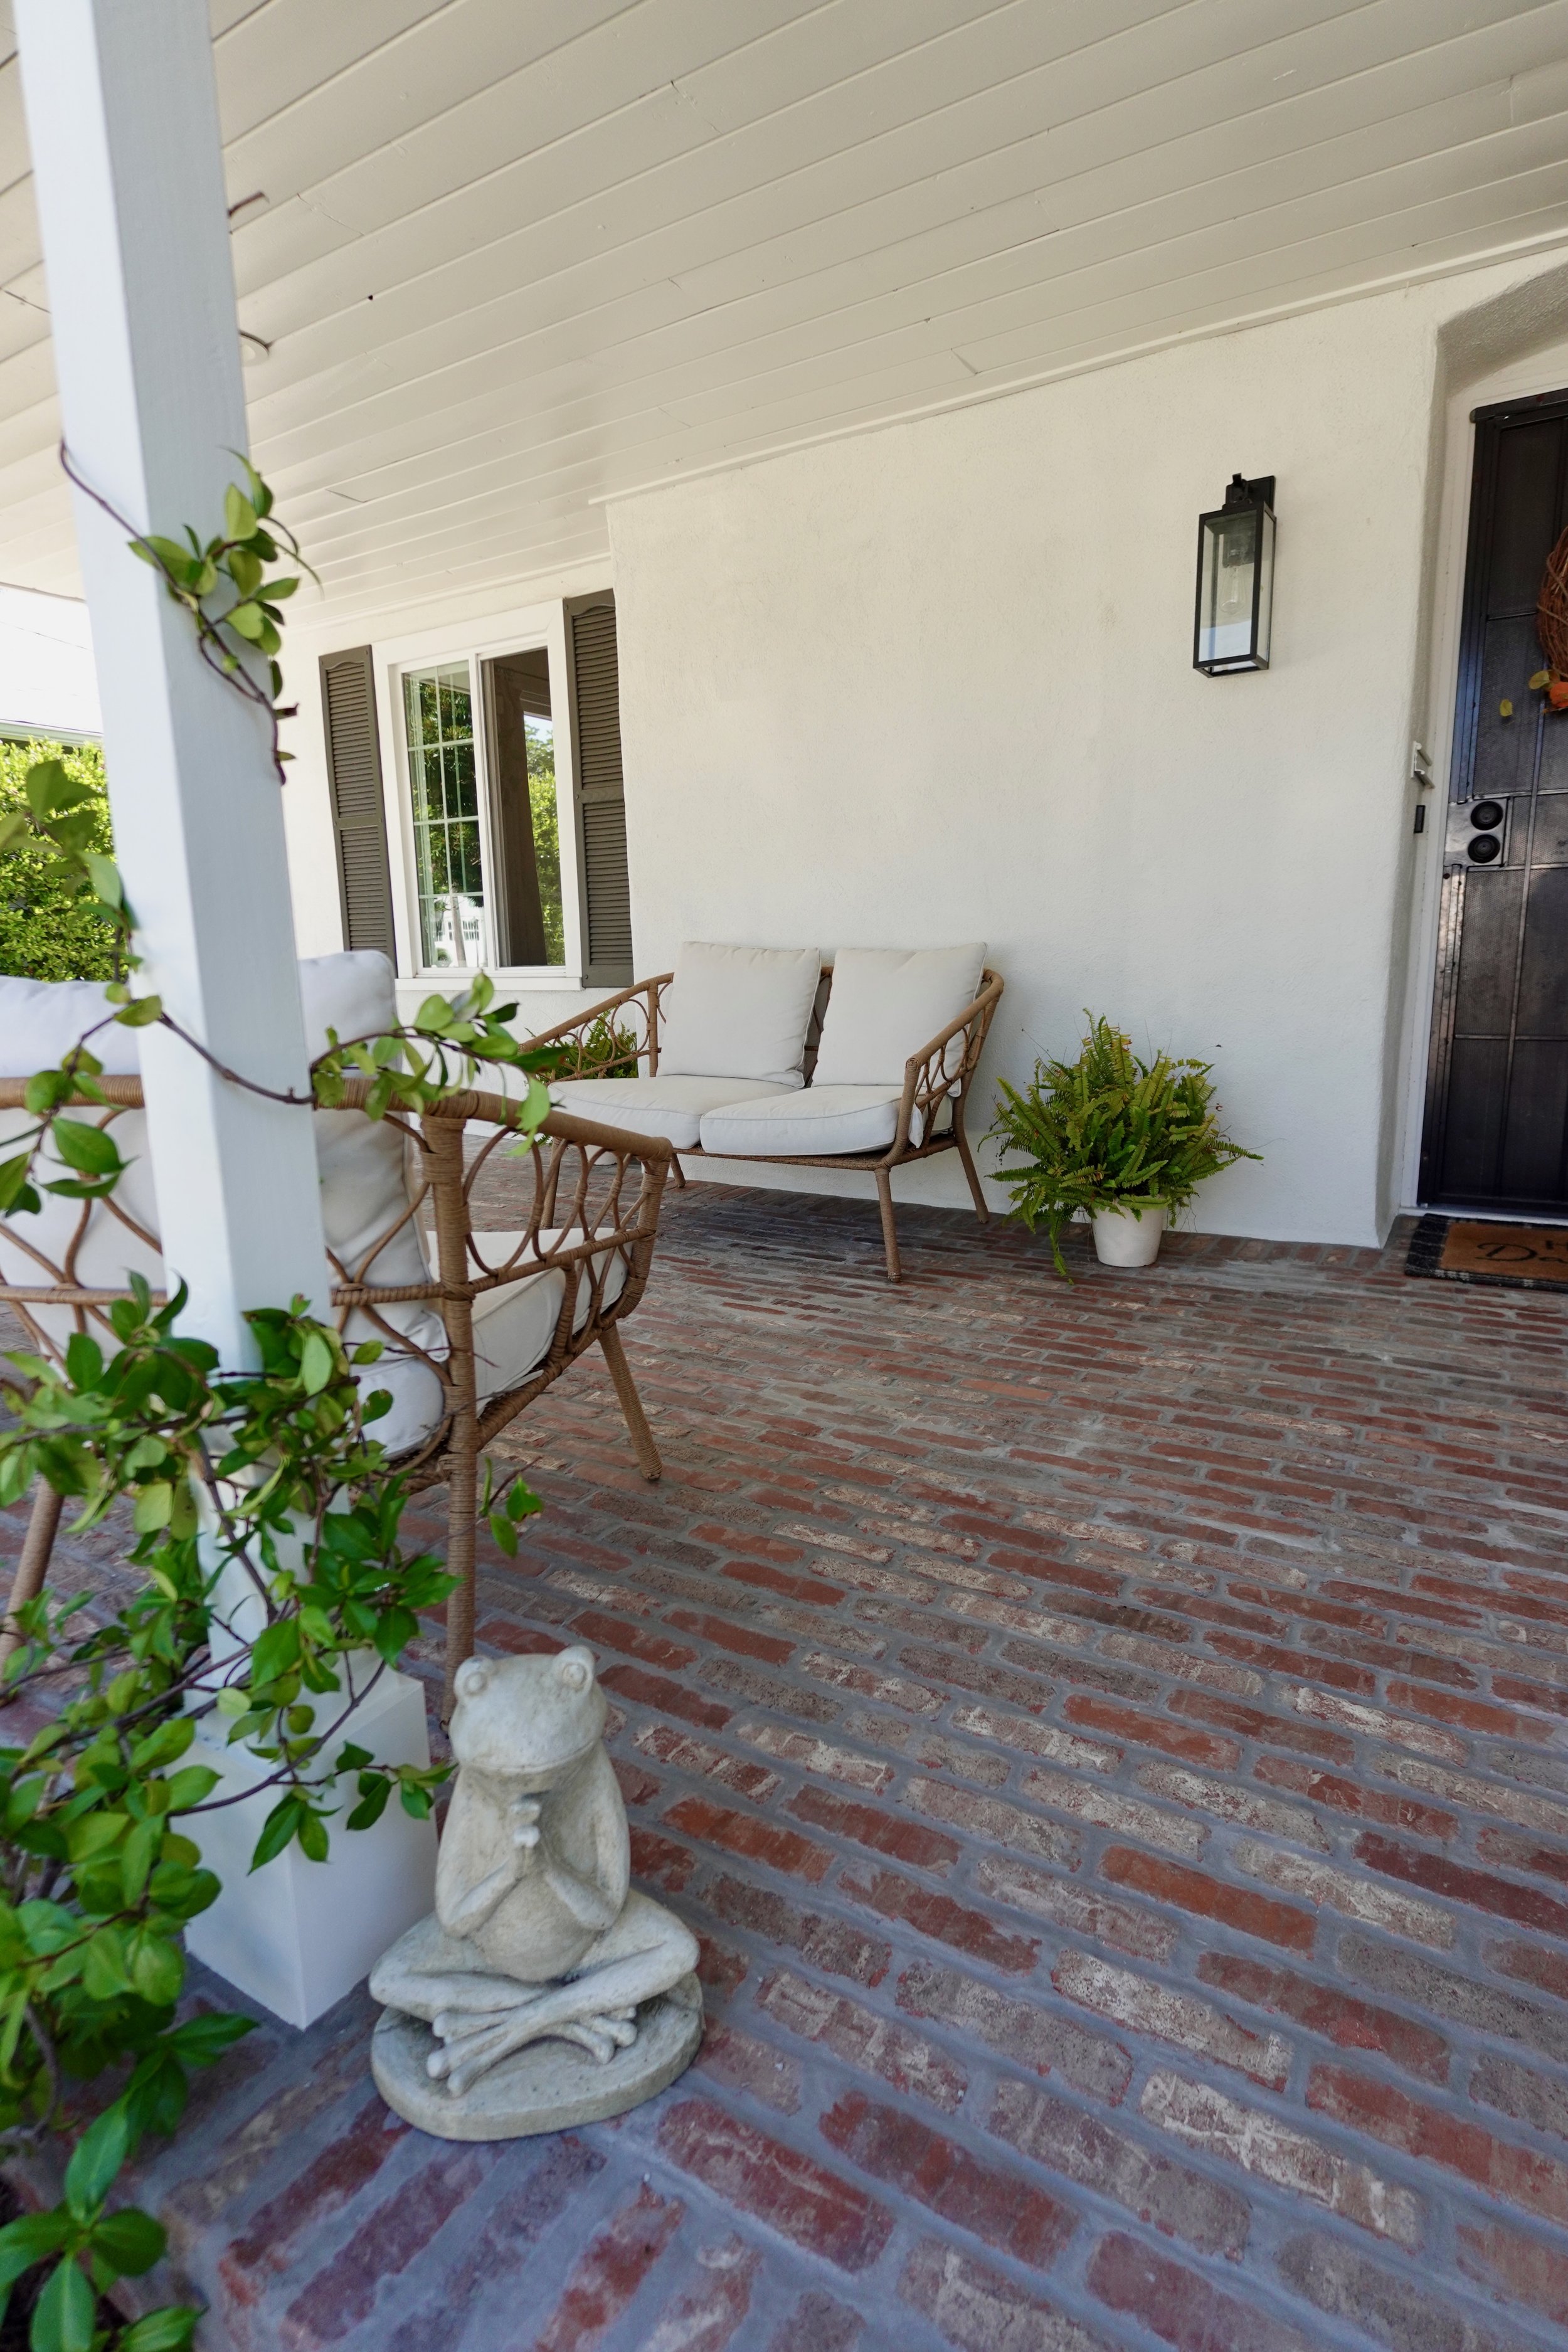
The final step was to seal it all! This step was easy and quick. You brush on the sealer with a brush, let it sit for 5 minutes and then wipe it off with a towel. And then it was finished!!!!


Cost Breakdown for 225 sq. ft
Brick Pavers (21 boxes of Classic Layout Sheets, 5 boxes of Single Pavers, 6 boxes of Corner Pavers) - $3000
Adhesive (4 bags) - $190
Grout (9 bags) - $200
Sealer (2 bottles) - $70
Angle Grinder - $100
Other Materials (Trowels, Piping Bag, Brick Jointer, Knee Pads, Etc.) - $45
TOTAL COST - $3605

This was definitely the most challenging project I have tackled thus far. I have such an appreciation for people who do this for a living. Once I recover, I already have more plans to add brick to some other outdoor spaces, but first I need to get to the list of indoor projects…bathroom gut anyone?


Thank you for coming along this brick porch journey with me, it has been quite the journey. And if you ever add brick to anywhere in your home, send a pic my way so I can see!
with love, andi
Want to save this for later? Save to your favorite Pinterest board!