One Room Challenge - Primary Bedroom Cottage Makeover Week 4
/And we are back! I was out of commission with sickness all last week so I wasn’t able to get an update out, but last week and this week are one and the same, so it works out. Over the past 4 weeks, I have been working on giving our primary bedroom a makeover for the One Room Challenge. We are officially in week 5 {my week 4} and I have lots to catch you up on!

In case you missed it, here is the design plan for this space. The goal is to create a cozy cottage bedroom retreat. With a small house and 3 kids, it is so important for me to have every space feel complete. Our bedroom has not felt that way for years. It’s time to change that.

If you are not familiar with the One Room Challenge, it is a bi-annual event where you can join in our transforming a room and then you share your progress weekly. This year, they are even including mini projects. Even If you aren’t ready for a full room makeover, there are a ton of mini projects happening…tons of inspiration! See it all here!

The past 2 weeks have all been about the ceiling! I thought I would be able to finish it in a week, but between sickness and things always taking longer for the ceiling, we are going on over two weeks. I can’t wait to show you the after!

Tongue + Groove
I left you off with me just starting adding these tongue + groove boards. These are thin and lightweight, not only making them easy to install, but also alleviating any worry about taking away from the height.


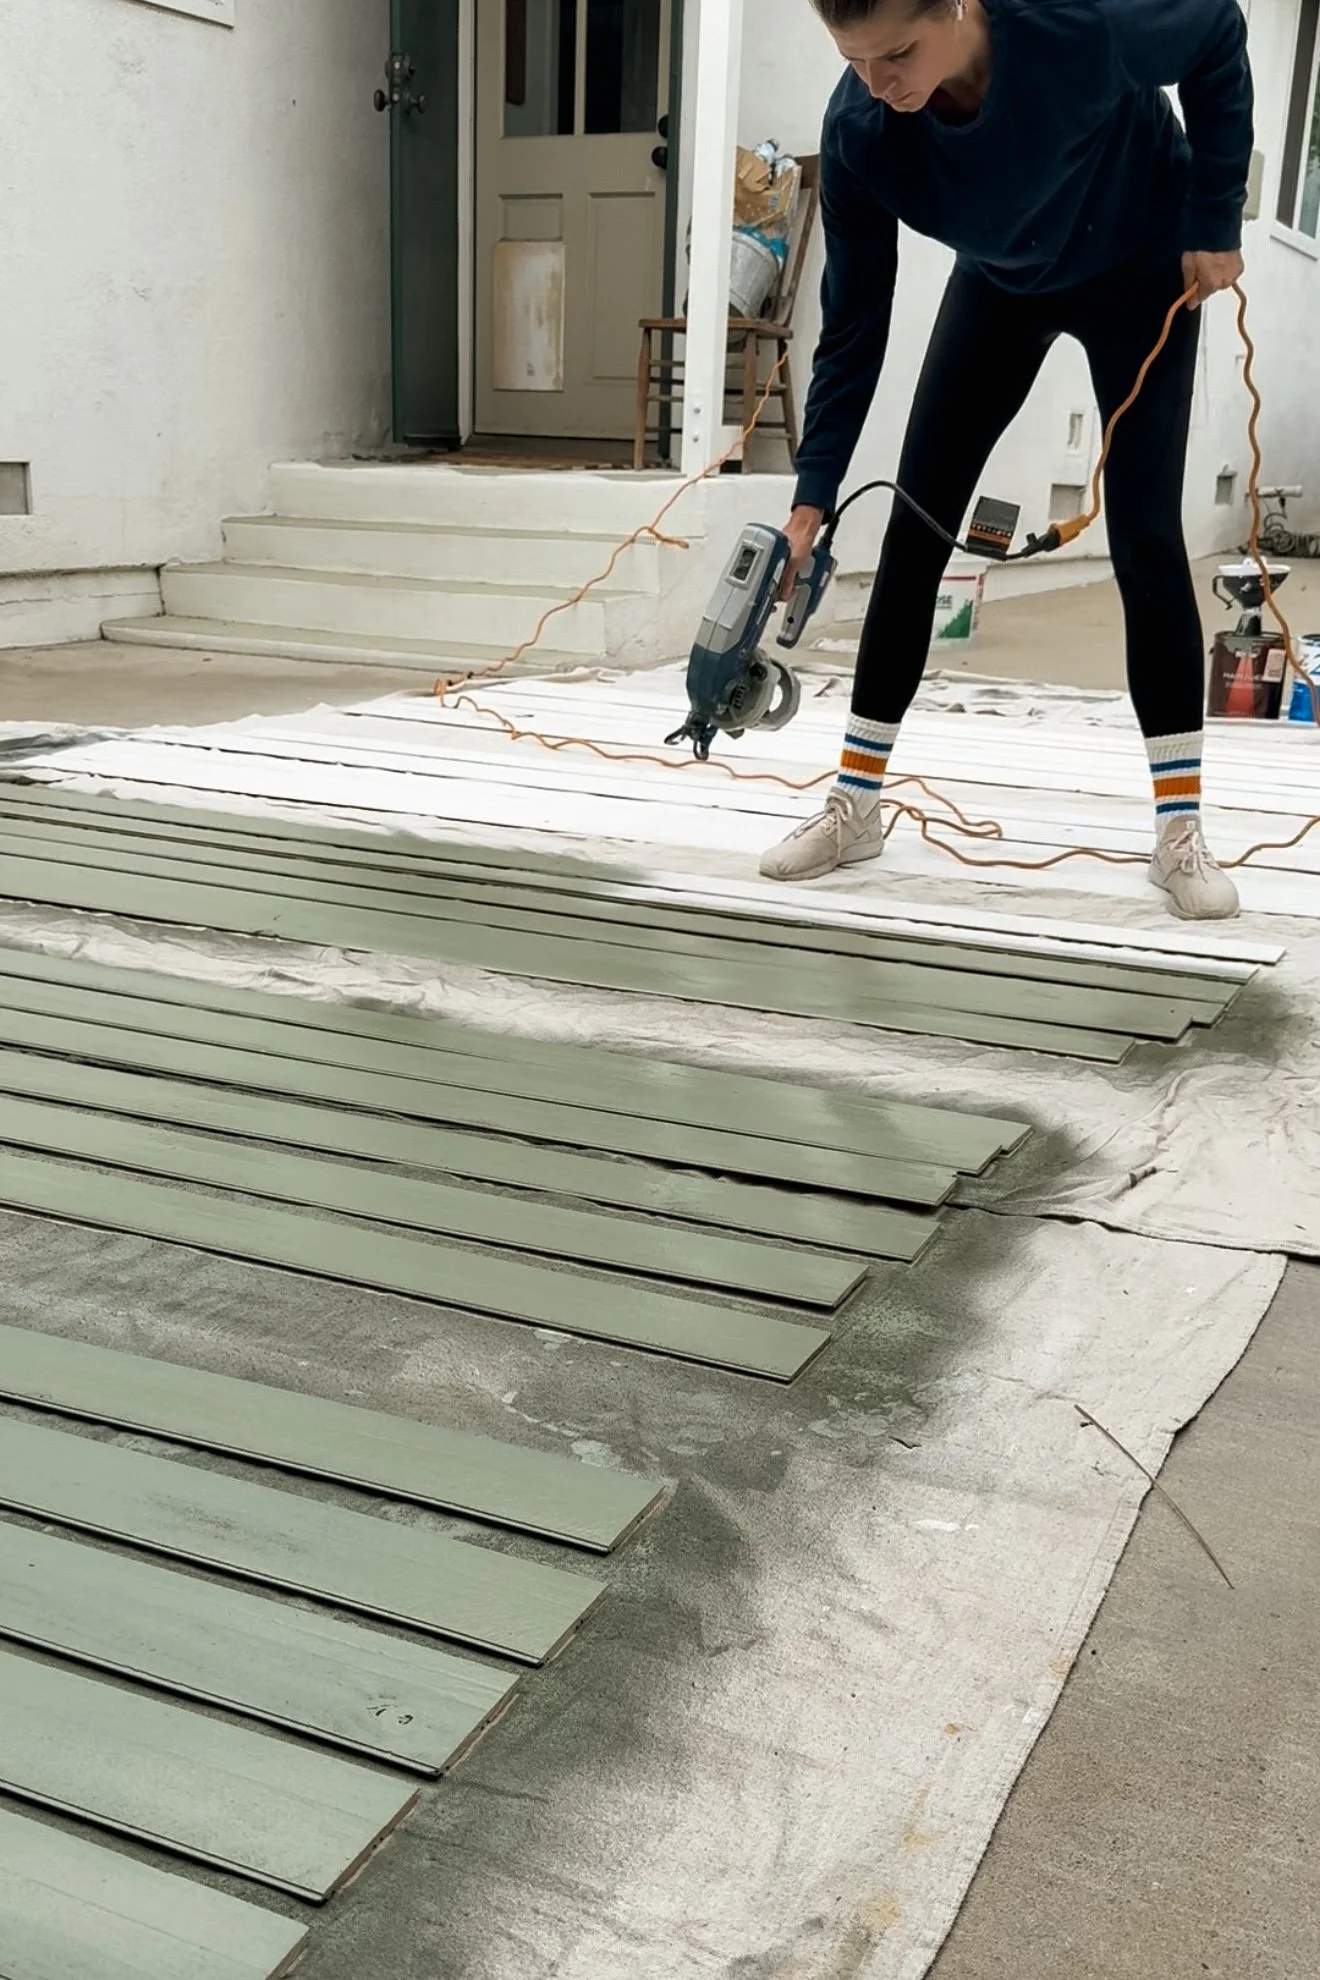
I am starting off with pre-painting the boards with primer and one coat of SW Dried Thyme. Doing anything on the ceiling is twice as hard {IMO}; getting some painting done first eliminates some of the backbreaking work. I am using my paint sprayer to make it quick and painless.
Once the paint is on, these are easy to install. Because these are so lightweight, I am not super concerned about making sure I get into a stud. I am simply using some liquid nails on the back and then brad nails to attach to the drywall. I have used these exact boards and process in two other spaces in our home and it’s held up great!


After a million years, two more trips to Lowe’s to get more boards, it is finally all up!
I’ve linked everything I could from the mood board and materials that will I will be using in our bedroom makeover. Click the image to take you to the product!

*These links contain affiliate links. Meaning if you purchase through my link, while it’s the same cost to you, I get a small commission – see my full disclosure here*
Moulding
Seeing the change with the tongue and groove is already huge, but the moulding is what brings it all together! I was debating between doing a simple 1x2 or attempting to go big with a traditional crown.
Then I saw this smaller crown moulding {+ easier to install than a traditional crown} and I knew this was it. It isn’t going to bring down the ceiling once it is painted green, but it still has a fun crown detail.

After install, it is time to fill all the holes and caulk everything. This step used to be a dreaded step for me, but one that I appreciated once it was done. After years of complaining, I finally shifted my mindset and now it is one of my favorite things to do in the project. It is a time to slow down and enjoy the process.
And the final step, get one more coat of paint on!

I love how the ceiling turned out. It gives so much character, adding to the cozy cottage vibe I am going for.


This week will consist of lots of little finishing touches and figuring out if I will be able to complete one of the biggest parts of the project in time.
Follow along as I finish transforming this space over the upcoming weeks. You can see all the participants posts here. Until next week, my friend. Make it a great one!