How To Smooth Out Textured Walls With Minimal Sanding
/When we moved into our 1929 Cottage Tudor home, one of the first things I noticed was the walls. The orange peel textured walls that was added at some point to the main part of the house. Little by little, I have been working to smooth out the textured walls to give it that Cottage feel that has been stripped over the years. After a few areas done, I have found a method that works with little sanding and less mess!
*These links contain affiliate links. Meaning if you purchase through my link, while it’s the same cost to you, I get a small commission – see my full disclosure here*
Step 1: Prep
Clean the walls! Give the walls a good wipe down because nobody wants to put anything over dirtiness. Have you ever been painting and see somebody else’s hair that had gotten painted over? That was our kids bathroom when we moved in and 🤢. I go over it with a wet rag and then again with a microfiber cloth once it’s all dry.
Step 2: Skim Coat
Mix the joint compound with a teeny bit of water. You want it to have a nice smooth consistency. If you try and put it on without mixing it, you will get big clumps on the wall {trust me, I tried}.
I am choosing to use a roller for the first skim coat, but you could also just use a taping knife. I find that the roller is a little bit quicker and also causes less bubbles. But taping knife works too!
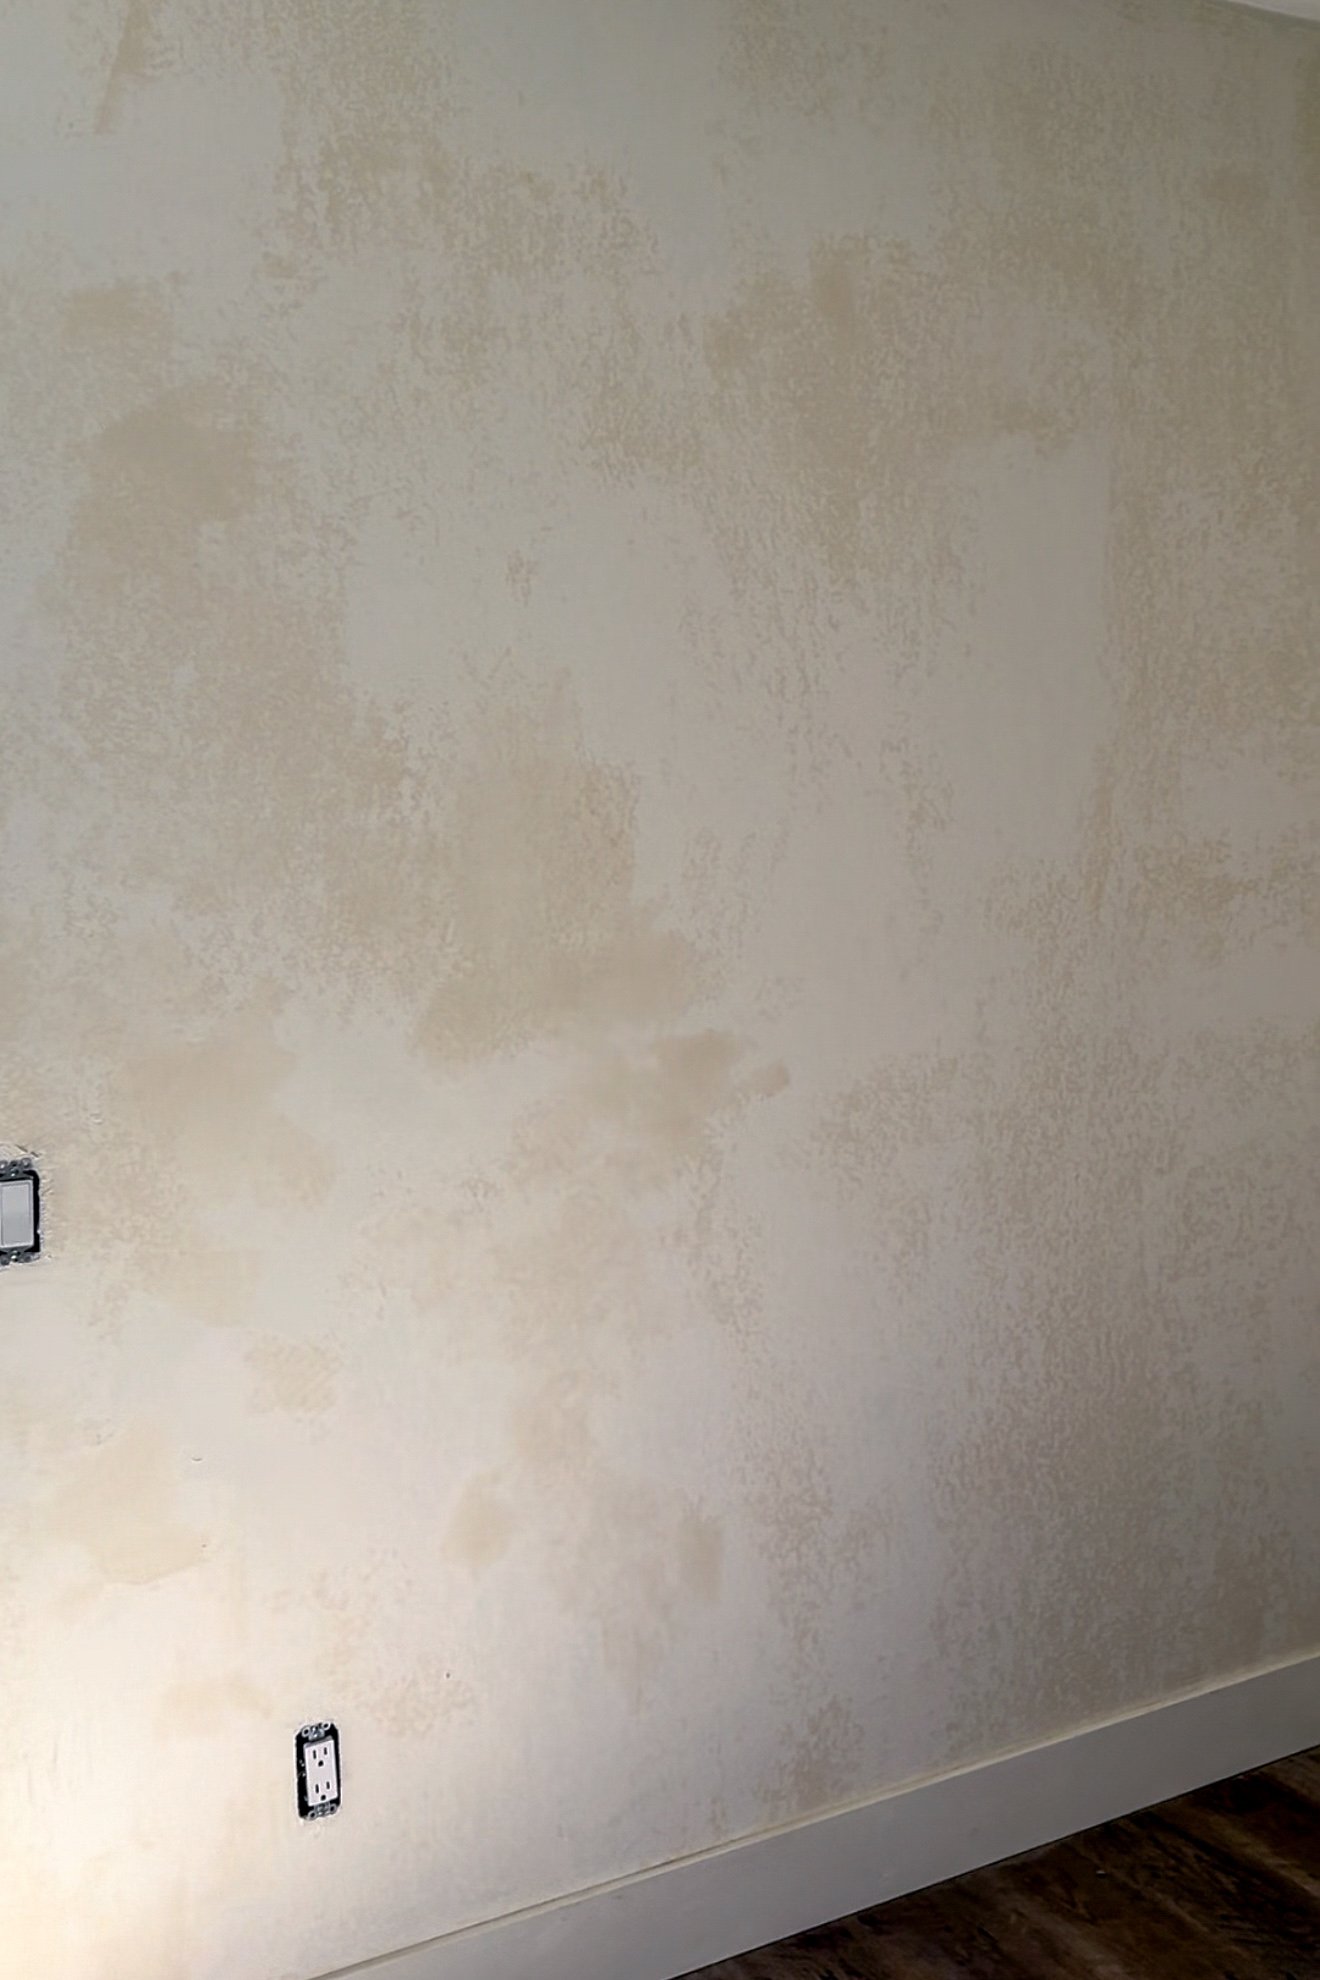
Use the roller to roll on the first coat of joint compound and then take the taping knife to scrape and smooth it out to a thin layer. I use the mud pan to put any of the excess joint compound. This first coat is a called a skim coat for a reason, you don’t want to overdue it. The whole point of the skim coat is to fill those crevices. It is the most important step to get right, but also the step that looks like you haven’t done a thing.
After letting it dry completely, go over it with a wet sponge. This helps smooth it down and eliminates a sanding step. Joint compound is activated by water so be careful and don’t soak the sponge so much that you remove all your hard work. You just want to do enough so that it helps smooth out any of those chunky areas you got.
Step 3: Second Coat
This is where things come to life. Mix another batch of joint compound and scoop into the mud pan. Use the taping knife to go over the whole wall with another thin layer of joint compound.
Step 4: Sand
After letting it dry, use a fine sanding block to over the whole thing. You will still have dust flying around even with hand sanding, so cover anything you don’t want to get dust on. I covered our bed and had the drop cloth on the ground and that was plenty for me.
Although I love the look, I prefer to not have perfectly smooth smooth walls, simply because it makes it more challenging in the future when needing to patch. But sand to your hearts desire until you get the affect you want.
Step 5: Patch
There will be lots of excess dust on the walls so give it a good wipe down and clean up. I go over it lightly with a wet rag {not pressing too hard, just enough to help clean off the dust} and then again with a dry microfiber cloth.
After sanding, there are always still a few areas that I notice could use another coat. If need be, go over those areas with a third coat of joint compound using the taping knife and once dry, use the sanding block to smooth out.
Step 6: Finishing touches
Give it another good cleaning, wet rag + microfiber wipe down and then it is ready for paint!
Fresh joint compound needs to be sealed first with primer. Don’t skip this step and go straight to paint {even if it says it has primer in it}. Prime the wall and then once dry, paint the color of your choice. I am using the same color that was on there before, SW Alabaster. From afar in pictures, it might not look any different, but you will be amazed at how different it feels in person to go from orange peel to smooth texture.
Check out Instagram to see a little step by step video of the whole process! Here’s a little close-up before and after. The after looks like nothing, right? The whole point 😉
A simple DIY makeover and our room already feels more cottage, just with the walls. But don’t worry, I have tons more that I’m doing to this space to give it the cottage feel. Stay tuned for more bedroom updates!
I hope this has been helpful for you. If you have any questions or comments, let me know below. And if you use this method, let me know what you think! Until next week, my friend. Make it a great one!
with love, andi
Want to save this for later? Save to your favorite Pinterest board!


