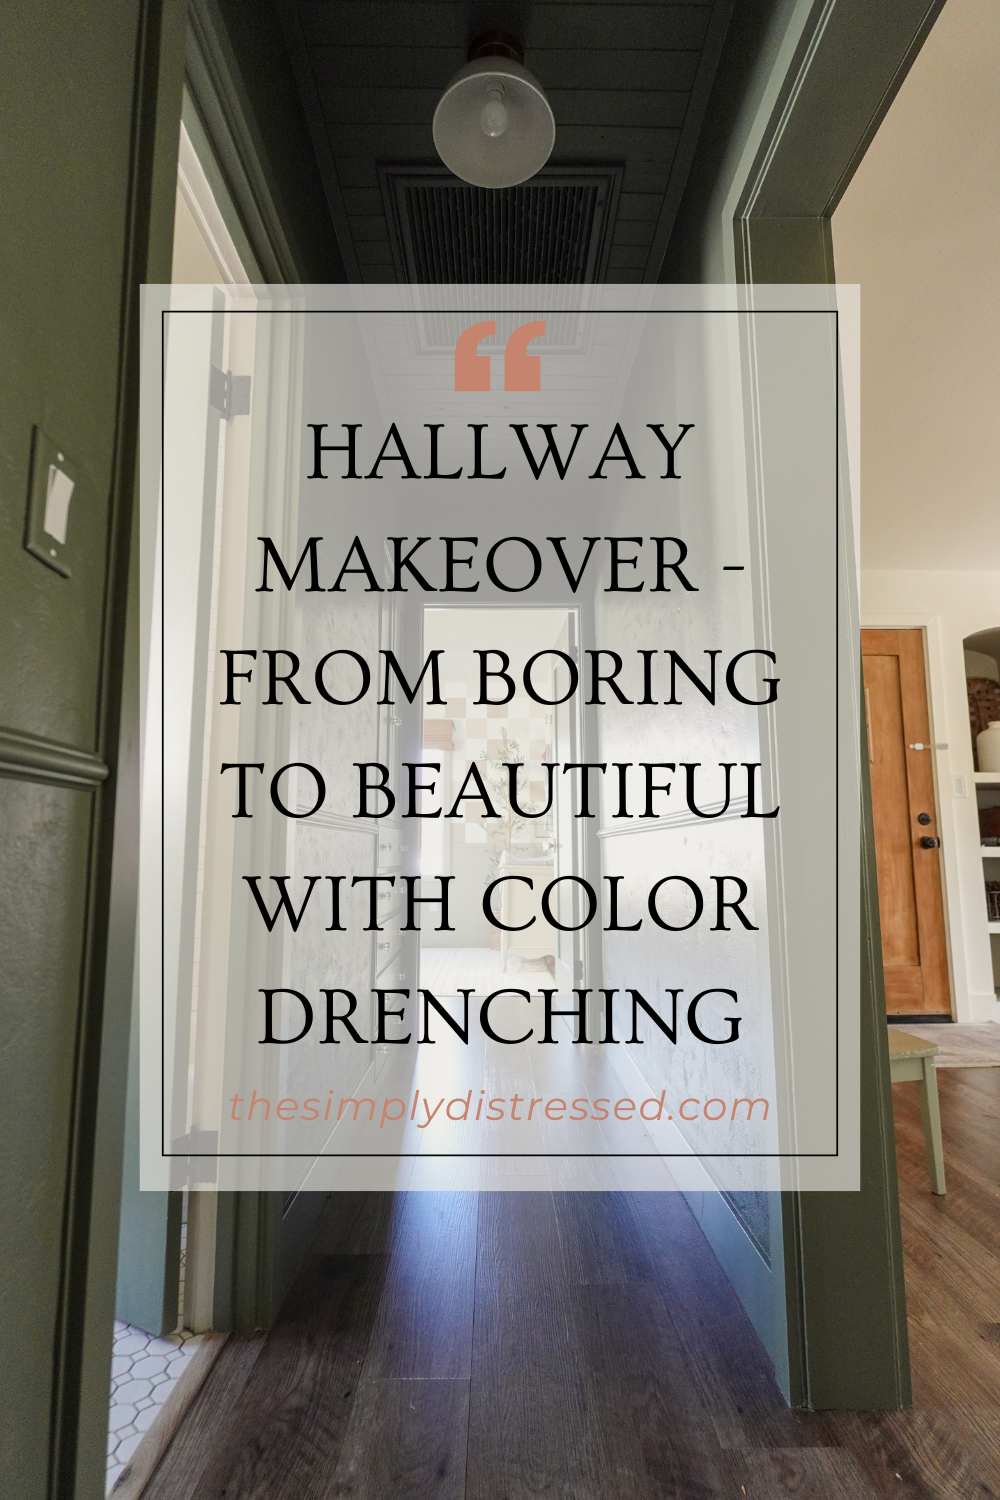
Hallway Makeover - From Boring to Beautiful with Color Drenching
/Over the past year, I have updated our girls’ room, our sons room, and the kids bathroom. It made sense that the entryway to those 3 spaces also have a makeover to be fun and inviting. And thus began this color drenching hallway makeover adventure.

The hallway before isn’t bad; it is simple and white, but so is the rest of our house. This hallway is a space where I can try something new and go bold without sacrificing that


Let me start off by saying that this definitely is not everybody’s vibe {I am still getting used to the drastic change myself}, but it is so fun to try something new. And I am digging the moody vibe.
*Any links provided contain affiliate links. Meaning if you purchase through my link, while it’s the same cost to you, I get a small commission – see my full disclosure here*
Color Drenching
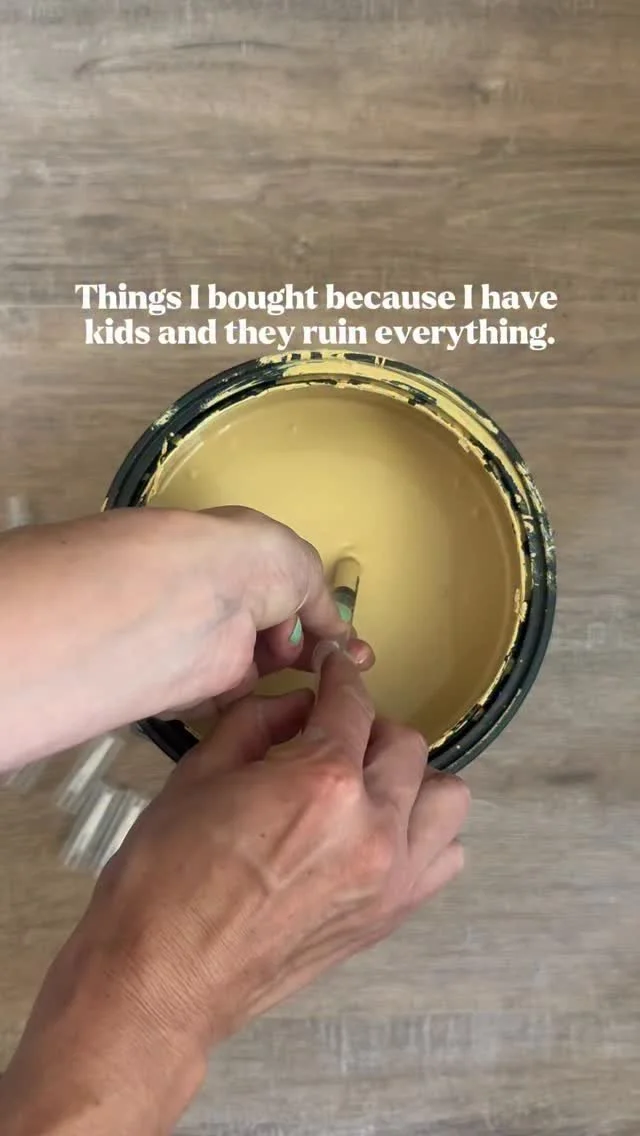
It all begins with choosing a paint color. I want something drastic, some bold, something moody. I fell in love with this color Dried Thyme by Sherwin Williams when I was thinking of painting the vanity in the kids bathroom and I couldn’t get it off my mind. After testing it in the hallway, I knew it was meant to be.

We have a smaller house with not a lot of natural light, so most of it is white. This hallway is a space I can get risky and try something new. Not only will I be going bold with the color choice, but I plan on color drenching this space {painting everything - the ceilings, the walls, the trim - all the same color shade.}
Ceiling
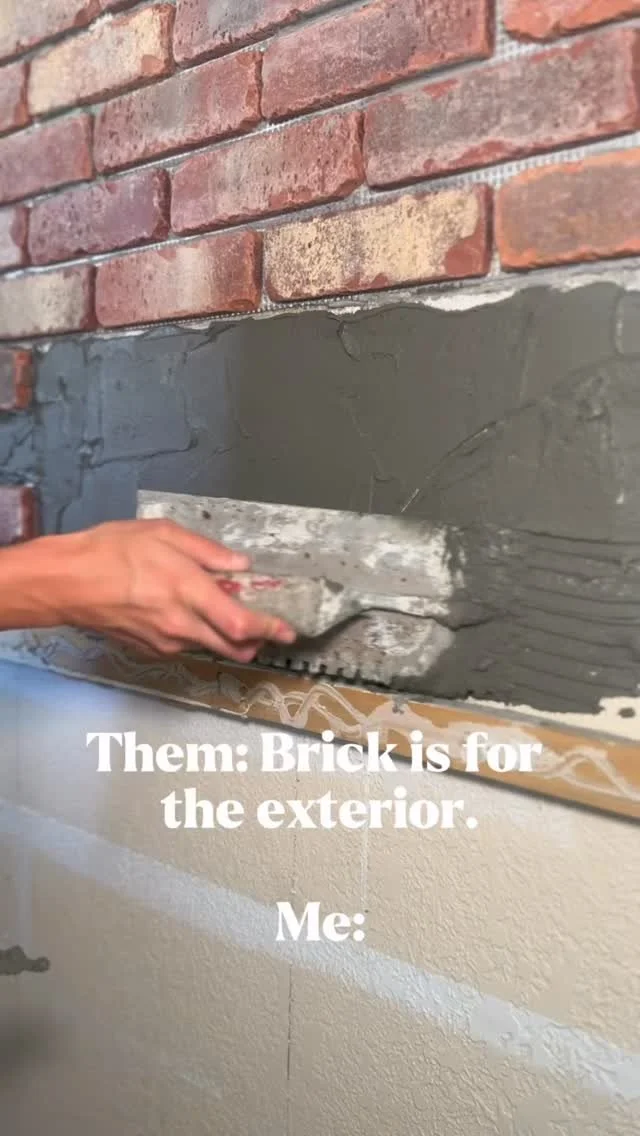
Because I am going to be color drenching this hallway, I want to add different textures in this space. I love a good plank ceiling, so tongue and groove it is! All the details and how to guide for the tongue and groove ceiling can be found here.

Gives it some fun texture and dimension, don’t you think?

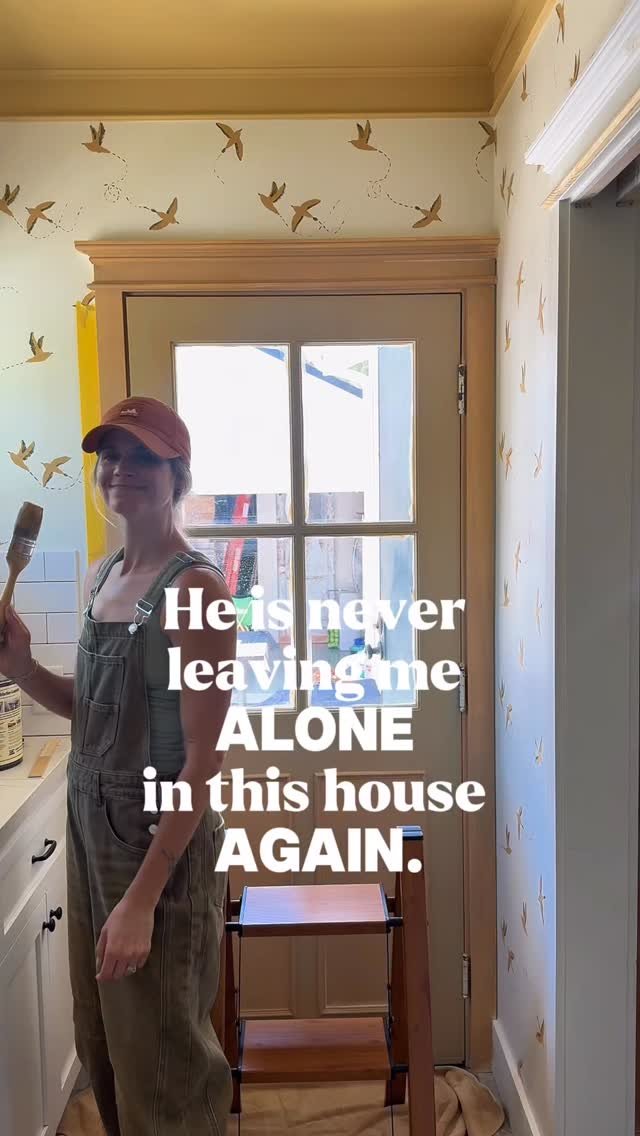
Doors + Trim
Once the ceiling is done, the color drenched journey has officially begun! Next up is painting the doors and trim. But first, some thicker trim!


The original trim to the house is thin, a part of the door jamb, and really blends in to the lath and plaster. I have been slowly adding thicker trim on top and the hallway is one of the last spaces I need to do. I am keeping the two built-ins with the original trim primarily because of the location/spacing of them, plus it differentiates them from the doors

All the doors and trim are being painted in Satin using SW Door and Trim paint. I have been on the hunt for the perfect roller for this that give yours a nice finish, and I think this one is the clear winner!
Walls
And where the hallway really gets crazy, the walls! I want to give it a little more depth, so adding a chair rail helps with giving dimension and break up all the moodiness. For the walls, I am using an eggshell sheen and the best roller I have tried to create a streak free wall.


And it’s done! Well almost…
What’s next?
Don’t worry, the walls aren’t staying bare! I will adding a picture rail to be able to hang some pictures and artwork to really make this hallway makeover complete. Read more about that here!

In the meantime, I would love to hear if you would try color drenching? What about using a bold, moody color?
with love, andi
Want to save this for later? Save to your favorite Pinterest board!