Easy How To Add Tongue And Groove To The Ceiling
/The hallway has been looking a little bland. More like the hallway has been looking a lot bland. The time has come for a DIY hallway makeover!

This hallway is the entrance to our kids bedrooms and bathroom, all of which have been completely renovated and transformed. It only feels natural that the entrance to those spaces also receive a makeover. Let’s start with the ceiling and give it a fun update with tongue and groove!

This is the perfect project if you are a beginner DIYer, plus it is pretty budget friendly. There is not much to it. With a few basic tools, you will have a new ceiling that can be done in a weekend.
Tools & Materials
Tongue and Groove - I used 3 packs to cover 36 sq ft {I could have done 2, but didn’t want any seams}
Tool to Cut - I’m using a miter saw but you could easily use a jigsaw or circular saw
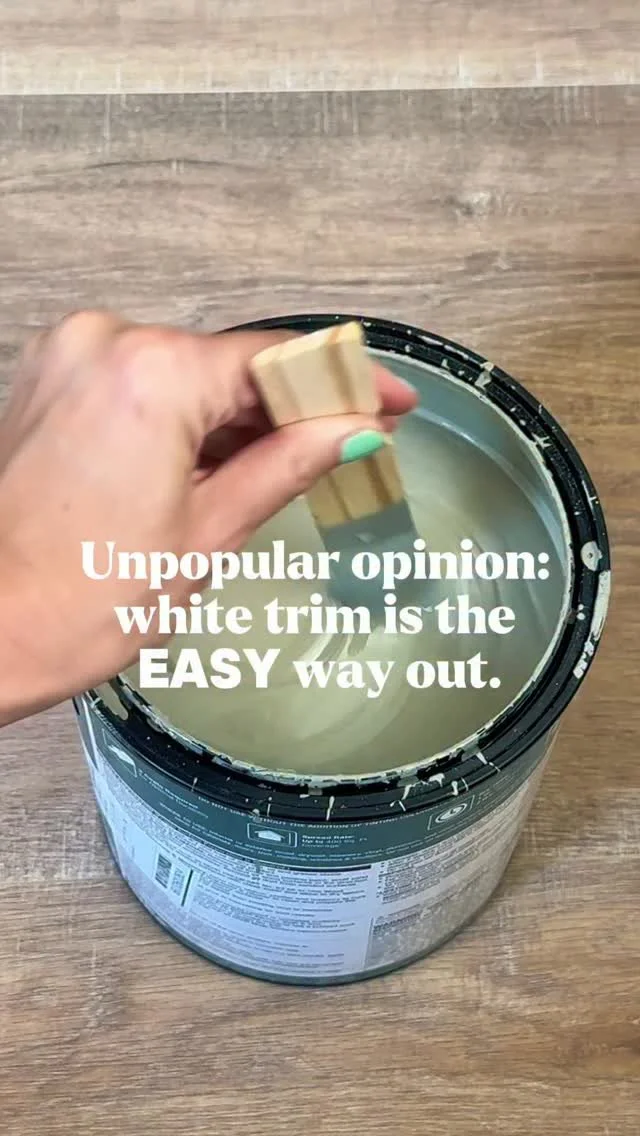
Primer and Paint Color of your choice - I’m using SW Dried Thyme
*Any links provided contain affiliate links. Meaning if you purchase through my link, while it’s the same cost to you, I get a small commission – see my full disclosure here*
This is my second time adding tongue and groove to the ceiling. The first time I did it, I didn’t paint until it was all up. However, if you have ever painted ceilings, you know how much of a pain it could be. This time around, I decided to prime and do one coat of paint over all the boards before installation. I didn’t a second coat of paint because I knew that I would have to paint again after filling holes and caulking anyway.
Plan
The first step is to plan out your layout and where you want to begin. Like most homes, ours isn’t perfect, the ceiling isn’t an exact rectangle and the ac return vent is at an angle. I decided where I was going to start and used a laser level to help me with my first board {it did not sit flush against the wall, but that is okay because it will be covered}.

*These are pretty thin and very lightweight so I didn’t worry about attaching to the ceiling joists or adding in any makeshift joists. You will see what I use when we get to that point.
Cut and Attach
After getting one coat of primer and paint on the boards, cut them to size of your space. I used my miter saw to do this, but you could easily use a jigsaw or circular saw. Don’t worry about the edges being perfect or ending at the exact same point if you have wonky walls because it will get covered with a trim piece in the end {you want to leave a small gap against the wall for expansion purposes}.

Because the tongue and groove planks are very lightweight, to attach them to the ceiling, all you need to do is add a strip of liquid nails to the backside of the board and attach with brad nails. The brad nails are simply there to secure to the ceiling to give the liquid nails enough time to do its job. I didn’t worry too much about the placement of the brad nails because these boards are rustic and imperfect and the brad nail holes add to that character.

Once the first board is up, making sure the groove is against the wall, the rest of the ceiling goes pretty quick.
Cutting around Lights or AC Returns
There wasn’t too many obstacles for this particular space, but for the light and ac return, I simply marked the area that needed to be cut and used a jigsaw to cut. I will be adding a small piece of trim around the vent return to help cover those imperfections.
For the light, I lowered it so that the boards could slide underneath to hide those cuts!


The very last piece on the end wall also needed to be trimmed and one side is thicker than the other. I knew this was going to happen because how off the walls are. As long as it all visually looks good when you are walking through it, that is what matters. If I had lined it up to that wall, every tongue and groove would be at an angle to the floor. Plus it will get covered with a trim piece anyway!

Trim Pieces
At this point, it might look a little scary, I know our hallway did. But this is where the magic happens. Cut your trim pieces {I used a simple 1x2 clean poplar board to help finish off the rustic tongue and groove} and attach using the same method, liquid nails underneath and attach with brad nails.

Finishing Touches
Where it all comes together, literally! Fill nail holes with wood filler and caulk where the trim pieces meet the wall and tongue and groove. The secret to caulk {use baby wipes}.


Once that is all dry, do a second coat of paint to cover all the finishing touches. At this point, I was grateful I painted most of it before installation. Here is the finished result. Looks 20 times better, right? ***I’ve ordered a decorative replacement AC return vent cover, just waiting for that to arrive!


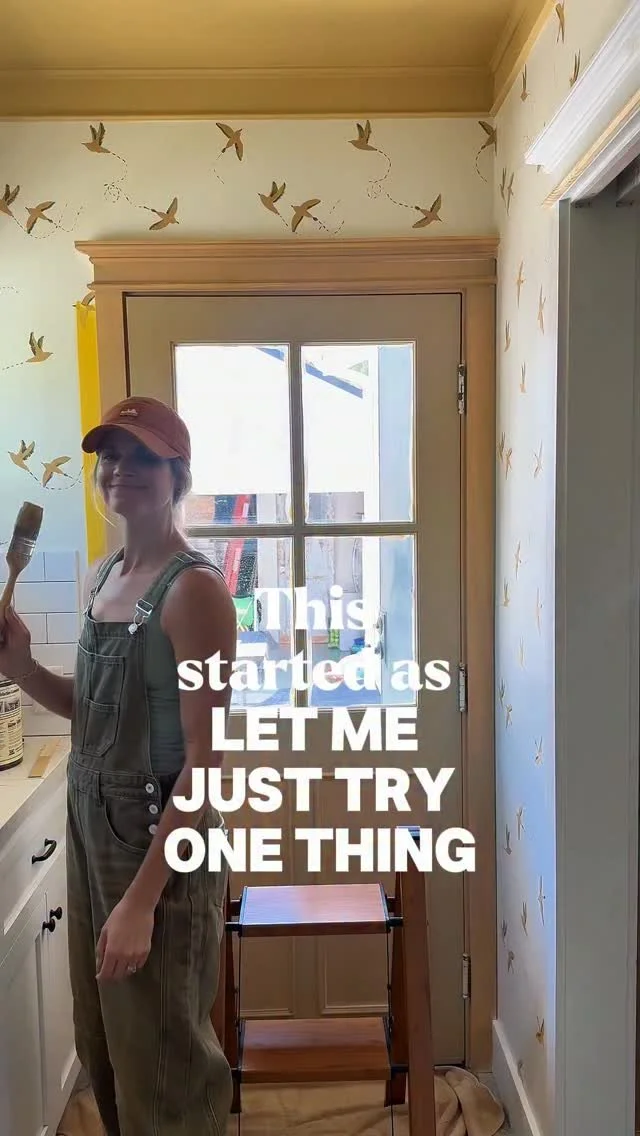
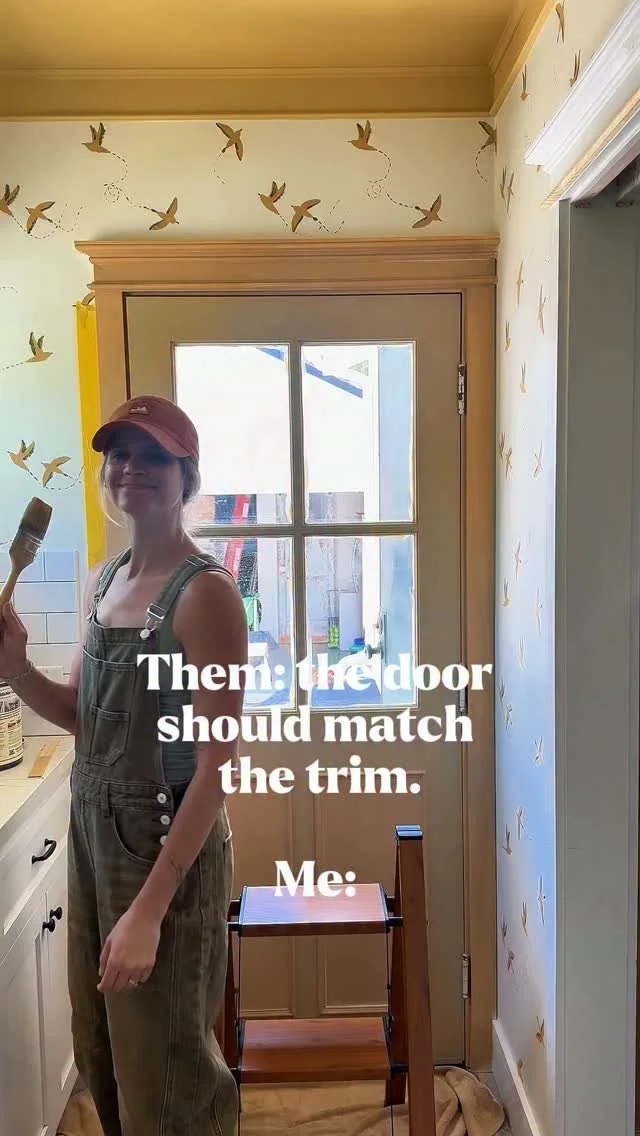
That’s all there is to it! A simple DIY project that can be done in a weekend. Are you ready to start your DIY journey {or continue} and DIY your own tongue and groove ceiling? Let me know what you think and send a pic if you add a ceiling feature to your home! Next up on the hallway list is to paint the doors, built-ins and trim. What color do you think I should do?
with love, andi
Want to save this for later? Save to your favorite Pinterest board!