How to Get the Wallpaper Look with out the Wallpaper - DIY Faux Wallpaper
/When you want wallpaper, but really don’t want wallpaper, but want to make a statement and kind of want wallpaper, this DIY is for you! The next part of the girls room is, of course, adding more rainbows! If you missed it, you can see more on how I made a large rainbow art piece here.
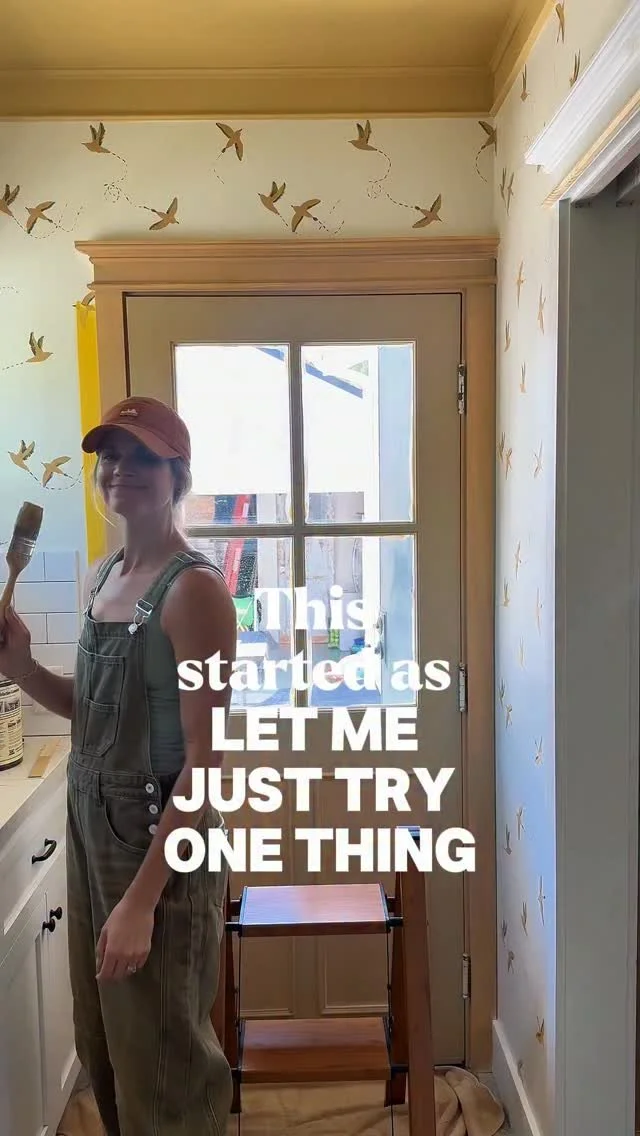
I did this Faux Wallpaper look a few years ago when Sawyer was a baby and knew I needed to do it again on their back wall. It is truly the easiest thing.

The time it will take all depends on the design you do and how much you put on wall. This current rainbow wall only took me a few hours from beginning to end, but the florals I did on Sawyers room took me hours and hours :D

My favorite thing about this DIY is that it is completely customizable, unique and does not require a lot of materials.
Materials:
Printout of picture you want to use
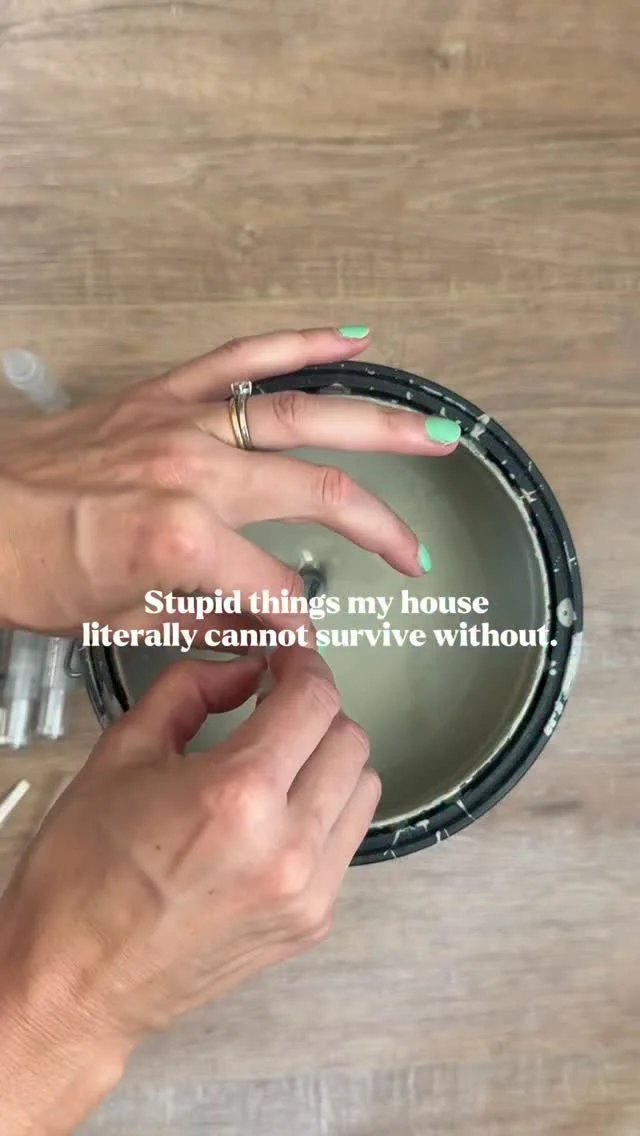
Paint of choice (I got a bunch of the sample size - see the colors I used on this post here)
Paintbrush (I only used one and washed it after each color)
*These links contain affiliate links. Meaning if you purchase through my link, while it’s the same cost to you, I get a small commission – see my full disclosure here*
It’s wallpaper…but it’s not.
Step 1: Picture
The first step is to decide on your design/picture. I found a picture of the rainbow in the shape I wanted and enlarged it in Microsoft Word. I did one in portrait mode and one in landscape mode so that it looks like I will have two different designs on the wall. When I did the florals in Sawyers room, I had 5 different floral designs. The great thing about this is the possibilities are endless…you can do any design you want, you can choose how many variations you have, and you can determine how busy you want the faux wallpaper to look based on the spacing.

Step 2: Trace
Once you have you picture ready, trace your picture on your wall by taping carbon transfer paper underneath your picture. If you are using the same picture, be careful as you a tracing. A few times, I thought I already went over an area, come to find out that was from my previous rainbow. Luckily with the rainbow, it was easy to free hand one stripe.


Don’t worry about about the excess mess the transfer paper makes, you can use a magic eraser at the end.
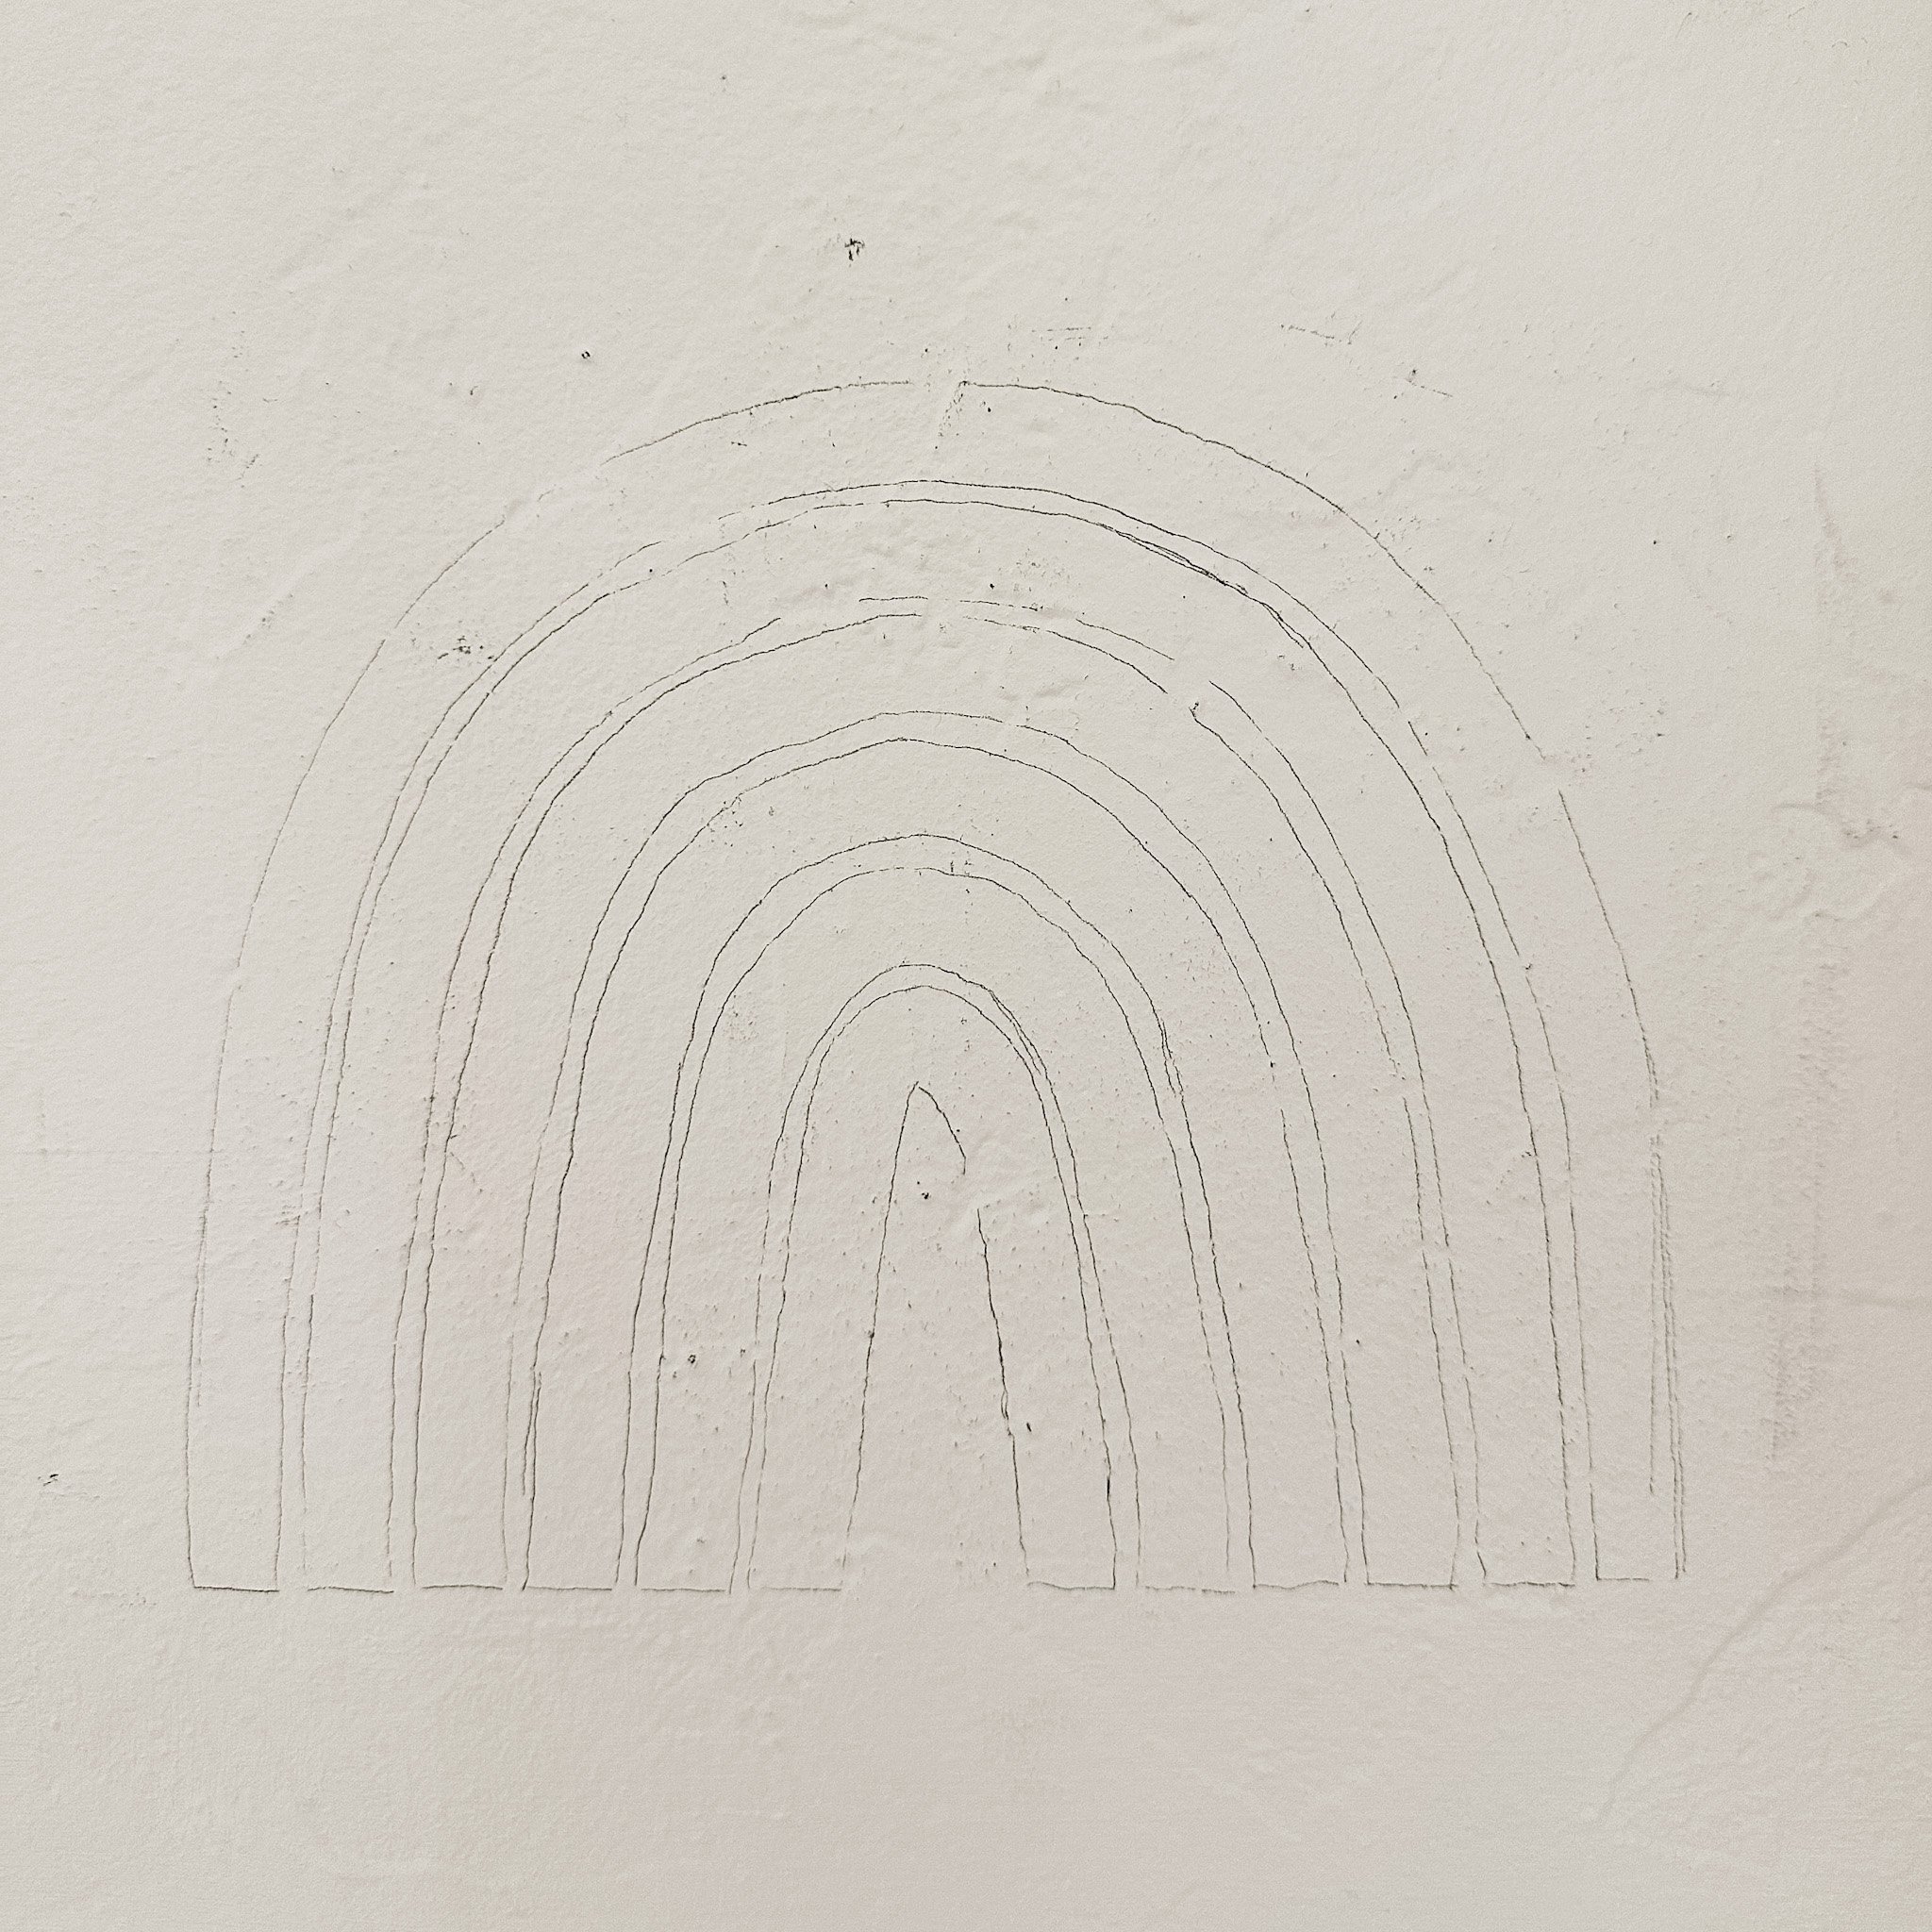
Step 3: Double Check
Before starting with the paint, double check to make sure you like the spacing of everything. It is way easier to fix now before adding any paint. Trust me! After I thought I was finished with Sawyers floral nursery {paint and all}, I had to completely redo a few of them when realizing I did not like the spacing. If you need to make some adjustments, you can use a magic eraser to remove the transfer paper marks.

Step 4: Paint
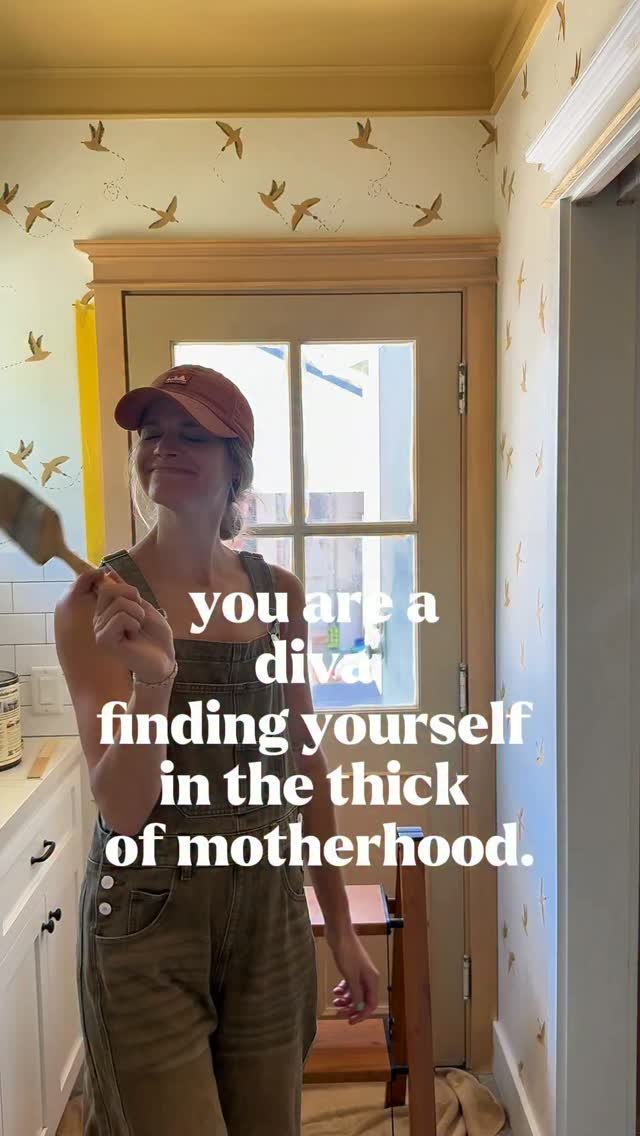
Now this is where it all comes to life…the paint! Start with one color and paint every picture before moving on to the next color. It is much faster this way, especially if you have overlapping/touching colors and need them to dry anyway. At first, you might want to be a perfectionist, but to me, the more hand painted look, the better. And really, when you step back at the end, you won’t see the detail that you were nitpicking earlier.

And that is all there is to it. You get a fun wallpapered room without having to actually wallpaper.


Shop the Girls Room


This really is such an easy project and makes a fun statement. And it is the perfect beginner DIY project. Would you try this? What design would you choose?